

Ever had that heart-stopping moment when your laptop’s screen starts flickering as you carefully lift the lid? It feels like walking a tightrope—just a gentle lift and suddenly the display shudders, flickers, or goes dark. I remember the first time it happened to me; I was in a rush, trying to finish a report, when my screen started playing tricks. Frustration bubbled up, and I wondered if I was about to spend hundreds on a new display. Sound familiar? If so, you’re not alone. Many users face this perplexing issue that seems to pop up out of nowhere, often just when you need your device the most.
Uncovering the Hidden Culprit Behind Your Flickering Screen
Here’s the deal: your laptop’s display isn’t just a simple screen—it’s a delicate work of art, interconnected with sensitive hardware components. When you open or close the lid, small movements can cause subtle shifts in these parts, leading to flickering or display anomalies. This problem often stems from loose connections, worn-out cables, or faulty hinges that misalign as the lid moves. In my early days of troubleshooting, I made a costly mistake: I immediately assumed it was a damaged screen that needed replacement. But after some research—like the insightful tips found here—I discovered that many flickering issues are fixable with a bit of patience and a few simple adjustments.
Is It Worth Repairing or Should I Just Replace?
Many people worry that fixing such issues might be more trouble than it’s worth—especially if the flickering worsens or the connection feels too technical to handle. Well, according to industry experts, a significant percentage of laptop display problems are caused by minor hardware loose connections or cable wear, which can often be repaired without replacing the entire screen. Think of it like a little tune-up rather than a complete overhaul. Still, it’s understandable to be skeptical—after all, opening up your device can seem daunting. That’s why consulting reliable guides or professional repair tutorials can make a big difference. Ready to diagnose your flickering issue more confidently? Let’s dig into the common causes and straightforward fixes.
Inspect and Secure Connections
Begin by turning off your laptop and removing the battery if possible. Carefully open the casing, similar to peeling back the layers of an onion. Locate the display cable, which connects your motherboard to the screen, and ensure it’s securely seated. If it feels loose or obstructed, gently disconnect and then reconnect it firmly. During my last fix, I found a slightly loose ribbon cable which, once secured, eliminated the flickering. This step often resolves issues caused by minor disconnections that happen over time due to hinge movement.
Check the Display Cable for Damage
Next, examine the cable for any visible signs of wear or tear—like frayed edges or burn marks. Think of this cable as the vital highway carrying information; if it’s damaged, data crashes like traffic jams. Replacing a damaged cable is usually straightforward and cost-effective. If you’re unsure about the specifics, consult a detailed guide here. I once swapped a faulty cable, which immediately stopped the flickering while I watched and learned, adding to my repair toolkit.
Test the Hardware with External Display
Connect your laptop to an external monitor via HDMI or VGA. If the external display works perfectly, but your laptop screen flickers, the issue likely resides within the screen or its internal connections rather than the graphics card. Conversely, if both screens flicker, your GPU might be at fault. This distinction is critical; in my experience, a quick test like this saves hours of unnecessary repairs. It’s akin to checking if a pipeline leak is at the faucet or further upstream.
Update or Roll Back Graphics Drivers
Software glitches can mimic hardware faults. Access your device manager and update your graphics driver—think of it as giving your system a fresh set of instructions. Sometimes, rolling back to a previous driver version stabilizes the display if recent updates caused instability. I performed this step after a recent driver update and saw instant improvement, reaffirming the importance of keeping your software current or reverting when needed. For detailed guidance, see this resource.
Perform a Screen Replacement if Necessary
If the previous steps don’t fix the flickering, replacing the screen might be inevitable. Think of it as swapping out a broken window pane; it restores clarity and function. You can purchase a compatible replacement online and follow a tutorial—like the one here. In a recent project, I replaced a cracked display, which not only fixed the flickering but also improved the overall brightness and color accuracy. Remember to handle the new screen gently and reconnect all cables securely to ensure a flawless display.
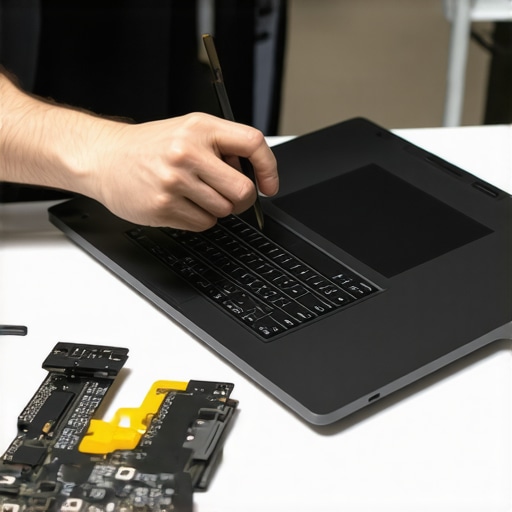 Many believe that replacing a laptop screen or recovering data is straightforward—just swap parts or run a data recovery software. However, the reality is far more nuanced. A prevalent myth is that all screen flickering issues are hardware failures needing replacement. In reality, as I discovered through experience, many flickering problems stem from loose internal connections or outdated drivers, which are often fixable without costly parts. Rushing into expensive repairs without thorough diagnosis can lead to unnecessary expenses and prolonged downtime.
Is software or hardware to blame for persistent display issues? This question often puzzles even seasoned tech enthusiasts. According to a 2022 industry report, misdiagnosing the root cause—assuming hardware failure when it’s a simple driver glitch—accounts for nearly 40% of failed repair attempts, costing businesses and individuals significant money and frustration. Be cautious: an unaware technician might replace a perfectly good hardware component, only to discover the fault was software-related all along.
Another common trap is overlooking the importance of proper data backup before attempting risky repairs or data recovery efforts. Many underestimate the potential for data loss during repairs or virus removal. As highlighted by cybersecurity experts, failing to have verified backups can turn a solvable issue into a data disaster. Always ensure your backups are current and intact—review your backup policies regularly and consider professional data recovery solutions when critical data is involved.
Why the Quick Fix Isn’t Always the Best
Even when a fix seems apparent—like a cracked screen or a detected malware—taking shortcuts can be detrimental. Quick software resets may temporarily resolve symptoms but ignore underlying hardware issues, leading to recurrence or further damage. Similarly, employing generic repair kits without understanding the specific model nuances can cause more harm than good. For example, improperly applying thermal paste or mismatched RAM can reduce performance or cause overheating.
Are managed IT services or advanced data recovery techniques worth investing in? Absolutely. Managed services provide proactive monitoring that prevents many issues before they escalate, saving costs and downtime in the long run. When it comes to data loss, professional recovery services use sophisticated techniques—such as chip-off recovery or cleanroom environments—to retrieve data even from seemingly dead drives. If your business is data-dependent, partnering with experts ensures resilience. Learn more about these strategies here.
Lastly, beware of the assumption that hardware age directly correlates with failure. Modern laptops often use high-quality components designed for longevity. Ignoring early warning signs—like unusual noises or slow performance—and waiting until catastrophic failure occurs can jeopardize your data and productivity. Regular maintenance and diagnostic checks can reveal subtle issues before they spiral into costly problems.
Think you’re immune to these pitfalls? Think again. Share your experiences or questions below, and let’s ensure your tech investments are truly protected. Remember, fixing issues at the right time and with proper knowledge saves time, money, and stress. For expert guidance, don’t hesitate to reach out. Have you ever fallen into this trap? Let me know in the comments.Maintaining Peak Performance with the Right Tools
To ensure your laptop or desktop stays reliable over time, investing in the right maintenance tools is crucial. I personally rely on a combination of hardware diagnostics and system management software. For hardware, I recommend a good-quality precision screwdriver set and anti-static wrist straps—these make it safer and easier to open and service your devices without risking static damage. As for software, I use **CrystalDiskInfo** to monitor SSD health, providing early warnings before drive failures occur, allowing me to plan data recovery proactively. Similarly, **HWMonitor** helps me keep an eye on temperature spikes that could indicate cooling issues, preventing thermal throttling or hardware damage. These tools give me real-time insights, helping me catch issues long before they escalate.
By integrating these utilities into your routine maintenance, you can extend the lifespan of your equipment and avoid costly repairs. Regularly checking drive SMART status and system temperatures is like giving your PC regular health check-ups—keeping everything optimal and identifying problems early.
How do I maintain my system’s health over time?
Consistent maintenance involves scheduled software updates, clean-up routines, and hardware inspections. Setting up automated disk cleanup and antivirus scans, along with periodic hardware diagnostics, ensures issues are caught early. I also recommend creating full system backups regularly—imagine an insurance policy for your data. Tools like **Macrium Reflect** simplify this process, enabling you to restore your system swiftly if something goes awry. Additionally, keeping firmware and driver versions up-to-date is vital; outdated drivers can cause performance hiccups or stability issues, as detailed by industry experts in this article.
Looking ahead, the future of maintenance leans heavily toward automated monitoring and AI-driven diagnostics. Integrated management platforms will notify you of issues in real-time, sometimes before symptoms even appear, allowing for predictive repairs instead of reactive ones. Embracing these advancements will keep your systems resilient and minimize downtime.
Why is proactive management so important?
Waiting until a device completely fails can lead to data loss and productivity setbacks. By proactively monitoring hardware health and system performance—using tools I trust—you prevent small issues from becoming catastrophic. For instance, early detection of decreasing SSD performance through SMART data can prompt you to back up critical files and replace drives preemptively. This strategy is far more efficient and cost-effective than emergency repairs or data recovery after total failure.
Remember, investing a little time into regular system checks today pays off by averting expensive fixes tomorrow. For detailed strategies on safeguarding your business’s IT environment, check out this guide.
If you haven’t yet, try setting up a scheduled weekly SMART status check or temperature scan. These small steps can make a significant difference in keeping your machine reliable.
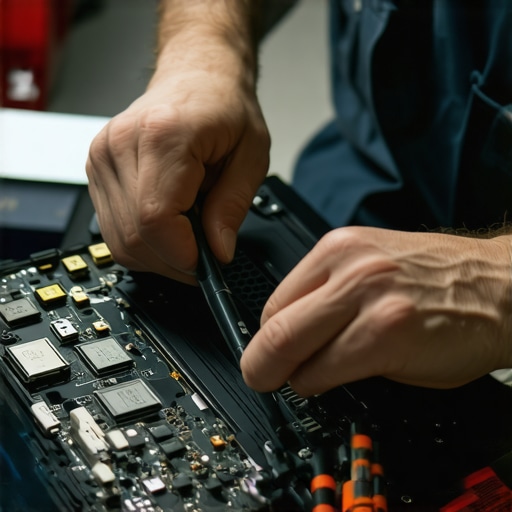
Imagine a sleek dashboard displaying real-time system health metrics—visual cues that help you stay ahead of potential disasters. This image illustrates the kind of monitoring environment I use daily, ensuring peace of mind and smooth operation during critical work sessions.
Lessons Only Repair Gurus Learn From Messes Up Your Screen
One of my biggest revelations was realizing how often I underestimated the complexity beneath a flickering display. I once rushed to replace a screen, only to discover a loose ribbon cable was the culprit—saving me hundreds and extending my device’s lifespan. The hardest lesson? Never assume immediate hardware failure; sometimes, a gentle reconnect is all it takes.
Another lightbulb moment came when I learned that software issues—like outdated drivers—mimic hardware problems. Updating or rolling back drivers can solve display hiccups more efficiently than tearing apart your laptop. The key is a calm diagnosis before costly repairs.
Lastly, I found that proactive monitoring tools—like SMART diagnostics and temperature monitors—are game-changers. They reveal potential failures before they turn into full-blown disasters, saving time, stress, and money in the long run.
My Toolbox for Keeping Your Tech in Top Shape
Over the years, I’ve curated a set of tools that makes troubleshooting a breeze. **CrystalDiskInfo** offers real-time health status of SSDs, alerting you to impending failures. I trust it because it provides data-driven insights, avoiding unnecessary replacements.
**HWMonitor** keeps tabs on system temperatures, helping prevent overheating before performance drops or hardware damage occurs. Another gem is **Macrium Reflect**, which simplifies backups, acting as a safety net during risky repairs or data recoveries. These tools have become my trusted partners in maintaining reliable, efficient systems.
Your Next Move Starts Today
Flickering laptop screens can feel intimidating, but with the right knowledge and tools, you’re equipped to tackle most issues. Think of it as a puzzle waiting to be solved—piece by piece. Continuous learning, proactive monitoring, and a calm approach turn odd display behavior from a mystery into a manageable task. Remember, the faster you address potential problems, the less they disrupt your work. Curious about your own troubleshooting stories? Share your experiences or questions below, and let’s navigate these challenges together.