

It was late at night, and I was meticulously running a high-stakes data analysis when suddenly, my computer froze. The screen flickered, and then everything went dark. Panic set in—the dreaded blue screen of death. After multiple restarts and frantic troubleshooting, I realized I was dealing with a sneaky culprit: failing RAM sticks. That frustrating moment taught me a valuable lesson: identifying faulty RAM isn’t just a technical chore—it’s a matter of restoring trust in your system. Have you ever faced a similar predicament where your desktop just refused to cooperate, and you knew deep down that memory issues were to blame?
Why Diagnosing Memory Failures is More Than Just Troubleshooting
In my experience, the worst part about RAM failure isn’t the error itself—it’s how elusive the culprit can be. RAM issues can masquerade as other problems—slow performance, random crashes, or even graphical glitches—and that makes diagnosing them tricky. But here’s the good news: you don’t need to be a tech genius to identify which RAM stick is causing the trouble. I promise, with some simple steps, you can save hours of guesswork and avoid unnecessary hardware replacements. Plus, knowing how to quickly recognize failing memory can prevent data loss and system failures that disrupt your workflow.
Thinking It’s Just a Bad Batch? Think Again, Buddy
Early in my tech journey, I fell into the trap of assuming RAM faults only come from manufacturing defects. That was my first mistake. In fact, volatile factors like overheating, improper installation, or even voltage fluctuations can cause RAM to degrade over time. Keep in mind, according to reputable sources, errors in RAM are among the leading causes of system crashes, accounting for a surprising 36% of hardware-related failures (source: TechRepublic). That statistic emphasizes the importance of knowing how to identify and replace faulty RAM quickly—before it takes your entire system down.
So, are you ready to uncover the secrets of diagnosing RAM issues confidently? In the next sections, I’ll guide you through proven methods to pinpoint the exact memory stick that’s acting up, ensuring your system runs smoothly and efficiently.
Test Your RAM Using Built-In Tools
Start by running the Windows Memory Diagnostic tool or a similar utility on your Mac. These tools perform a series of tests to identify errors in your RAM modules, much like a mechanic running diagnostics on a car engine to spot any misfires. I once used Windows Memory Diagnostic when my system kept crashing randomly. After a few reboots and tests, the tool indicated specific RAM sticks that were faulty, saving me from unnecessary replacements.
Physically Isolate Each RAM Module
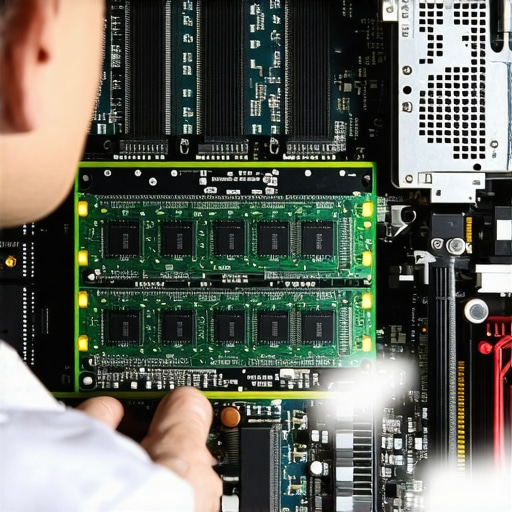
Power off your computer, unplug it, and open the case or access panel. Carefully remove all RAM sticks, then insert one at a time into the primary slot. Turn on the system after each installation. If the error reappears with a particular stick, that’s your culprit, like removing faulty pieces from a puzzle until it fits perfectly. I once found a loose RAM module this way—after reseating it, my computer ran smoothly again.
Label and Document?
While testing, label each stick or note their position. This helps in reassembling and understanding which module was problematic, much like a chef keeps track of ingredients. In my experience, keeping notes prevents confusion if multiple modules fail at different times.
Swap and Test in Different Slots
If a stick tests faulty, try swapping it to different slots. Sometimes, the issue isn’t with the RAM but with the motherboard slot—similar to a car’s spark plug misfiring in one cylinder but performing fine in another. During my troubleshooting, I discovered a damaged slot, which I then avoided for future upgrades.
Check for Overheating and Proper Installation
Overheating can cause RAM errors, so ensure your modules are properly seated with the clips snugly holding them in place. Use compressed air to clean dust from slots and modules. In one case, dirt and poor contact caused errors—cleaning resolved the issue immediately.
Update Your BIOS and Drivers
Outdated BIOS or chipset drivers can sometimes cause RAM recognition issues. Updating them ensures your system correctly identifies and manages your memory, akin to updating firmware in a smart device for better performance. I once updated my BIOS and saw immediate stability improvements.
Replace Faulty RAM Modules Safely
If testing reveals a defective stick, replace it with a new one compatible with your system. Always choose modules from reputable brands to avoid reoccurring issues, like choosing trusted brands for any crucial tool. When replacing, handle modules by edges to prevent static damage, much like handling delicate electronic components.
Consult Professional Help When Needed
If the problem persists despite all these steps, it’s time to consult a professional or consider motherboard issues. Sometimes, hardware failures are intertwined, and expert diagnostics are necessary. Remember, DIY fixes are effective but recognize your limits—like calling a plumber for a complex leak you can’t fix yourself.
By systematically testing, isolating, and replacing faulty RAM, you can restore your system’s stability without unnecessary expenses. Want to learn more about DIY repairs? Check out our comprehensive guide on avoiding costly mistakes in computer repair.
 Many believe that fixing a computer is as simple as swapping parts or running a basic troubleshooting guide, but in my experience, the real challenge lies in understanding the nuanced pitfalls that even seasoned technicians stumble over. For instance, a widespread myth is that all data recovery tools are equally effective; however, selecting the right tool for a specific failure—like corrupted partitions or physically damaged drives—can make the difference between success and complete data loss. Delving into advanced data recovery methods reveals that using generic solutions often prolongs recovery time or worsens the damage.
How can understanding the hidden complexities improve your repair strategy?
An often-overlooked aspect is the importance of diagnosing hardware interdependencies. For example, replacing a faulty motherboard component without considering the BIOS configurations or firmware versions can result in compatibility issues that appear to be new failures. External studies, such as those referenced in IT industry analyses, show that a failure to appreciate system intricacies increases repair costs and time significantly. Therefore, developing a thorough troubleshooting framework that factors in these hidden nuances is crucial. When it comes to managed IT services, many assume that plug-and-play solutions suffice, but in fact, strategic planning and customized security protocols are essential to prevent vulnerabilities exploited by sophisticated cyber threats—according to recent cybersecurity reports. Additionally, in laptop screen repair, a common mistake is attempting DIY fixes based solely on visual cues, ignoring underlying issues like inverter failures or backlight problems that require specialized diagnostic techniques. Visiting specialized guides on laptop screen repair can help you avoid costly errors.
What advanced troubleshooting traps should you avoid to prevent more harm?
The trap most technicians fall into is over-reliance on tools without understanding the underlying hardware or software context. This can lead to misdiagnosis and unnecessary replacements, which could have been avoided with a deeper understanding, as evidenced by studies on diagnostic accuracy. To excel, it’s vital to combine practical skills with analytical thinking, maintaining an awareness of the system’s full architecture. So, next time you’re tempted to jump to conclusions based on initial symptoms, remember that the devil is often in the details. Have you ever fallen into this trap? Let me know in the comments and share your experiences! By recognizing these nuanced pitfalls, you’ll significantly increase your success rate in repairs and management efforts.Maintaining optimal performance in computers and IT infrastructure demands more than just basic knowledge; it requires strategic tools and disciplined routines. My preferred approach revolves around leveraging professional-grade hardware diagnostics like the **MemTest86** for thorough RAM testing. Unlike generic tools, MemTest86 boots from a USB drive, performing in-depth analysis of each memory module independently, which helps me pinpoint faulty sticks with high confidence. Additionally, I consistently utilize the **CrystalDiskInfo** utility to monitor SSD and HDD health in real-time, enabling me to preempt failures before data loss occurs. This proactive stance is crucial as hard drive errors often manifest subtly, emphasizing the need for continuous health checks.
Furthermore, I rely on **Acronis True Image** for reliable backups, ensuring that data recovery remains swift if hardware issues or accidental deletions happen. While many underestimate the value of regular imaging, having a recent clone minimizes downtime and expedites restoration. On the software side, integrating **Speccy** into my routine aids in comprehensive system audits, revealing temperature spikes or abnormal voltages that could contribute to hardware degradation over time.
Looking ahead, managing IT assets will increasingly depend on automation and remote monitoring. Cloud-based tools like **Nagios XI** offer scalable solutions for real-time system alerts, which I plan to incorporate more extensively to streamline maintenance workflows.
**How do I keep systems running smoothly over the long term?** Regularly scheduled maintenance sessions, combining these diagnostic tools with firmware updates and physical cleaning, form the backbone of my strategy. For example, testing RAM with MemTest86 can uncover degradation early, preventing unexpected failures—saving both time and money.
If you’re serious about maintaining reliable systems, I highly recommend trying out MemTest86 for your next RAM check. It offers unmatched depth and accuracy, making it an essential addition to your toolkit. For more detailed techniques on hardware diagnostics, visit this guide.
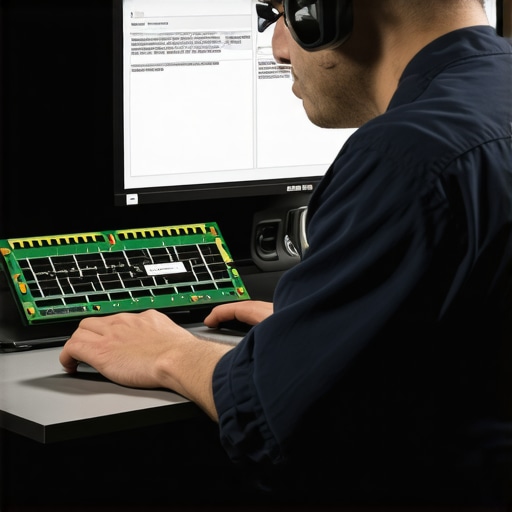
*Prompt:* A technician running MemTest86 from a USB in a well-lit workspace, with computer components visible.
What the Hard Lessons Have Taught Me About Repair Confidence
One of the most valuable insights I’ve gained in troubleshooting computer issues is that patience and methodical testing trump guesswork. Jumping straight to replacing parts without proper diagnosis often leads to unnecessary costs and prolonged downtime. Instead, taking the time to learn each diagnostic step builds confidence and improves repair success rates. Trust me, developing a solid troubleshooting routine, like methodically testing RAM modules or using reliable tools such as data recovery tools, can save you from costly mistakes.
Why Personal Experience Shapes Your Repair Strategies
Early in my career, I underestimated the complexity of hardware interdependencies. Over time, I realized that understanding nuances—like how BIOS settings influence RAM recognition—makes a massive difference. Practical experience, combined with continuous learning—read guides on laptop screen troubleshooting—elevates your skills from basic fixes to expert-level diagnostics. Remember, each challenge is a chance to refine your approach.
Linked Knowledge is Your Superpower
I’ve discovered that broadening my knowledge base—whether through tutorials, community forums, or trusted sites like troubleshooting guides—makes troubleshooting more efficient. For example, understanding how to update BIOS properly can prevent misdiagnosed hardware failures. The more interconnected your understanding, the faster you’ll identify root causes and deliver lasting solutions. It’s like assembling a complex puzzle—every piece matters.
Resources That Transformed My Approach
Over the years, I relied on specific tools to streamline diagnostics. MemTest86 stands out for thorough RAM testing, especially because it boots independently, avoiding OS-related inaccuracies. For monitoring drive health, I trust data recovery and health monitoring utilities. Plus, engaging with the community through forums like Stack Exchange or vendor-specific support pages accelerates learning. These resources have become essential in my repair toolkit.
Your Next Step in Confident Repairing
Embrace the journey of becoming a more skilled technician. Every misdiagnosis is a learning opportunity, and with patience and the right resources, you’ll handle hardware issues more confidently than ever. Remember, thorough diagnostics and continuous education are your best allies. Ready to tackle your next RAM or motherboard challenge with renewed confidence? Keep practicing, stay curious, and reach out if you need guidance. Your improved troubleshooting skills are closer than you think.
What’s the toughest hardware issue you’ve faced, and how did you resolve it? Share your story below—I love hearing real-world experiences that inspire growth!