

I was sitting in my favorite local coffee shop last Tuesday, ready to breeze through a massive spreadsheet, when it happened. I opened my laptop and… nothing. Well, not exactly nothing, but the display was so faint I had to squint like a detective examining a forged painting. I instinctively mashed the brightness-up key. Click, click, click. The on-screen slider was maxed out at 100%, but the panel looked like it was wearing a pair of heavy sunglasses. It was incredibly frustrating, and honestly, a bit embarrassing as I struggled to read my own screen in public.
The Ghost in the Backlight
For the longest time, I thought a dark display simply meant it was time to buy a brand new machine. Years ago, during my early days of tinkering with hardware, I made a classic amateur mistake: I immediately ordered an expensive replacement LCD panel without diagnosing the actual issue. When the new screen arrived and exhibited the exact same dimness, I realized I had just thrown a hundred dollars out the window because of a faulty cable. That painful lesson taught me that the problem is rarely just a tired screen. Often, you are dealing with a confused operating system, a failing inverter, a misconfigured graphics driver, or even a hardware issue that you can easily resolve with a bit of patience. Today, we are going to dive into exactly why this happens and how you can get your vibrant display back without spending a fortune. If you are struggling with other weird display issues, you might also want to check out our guide on the specific reason your laptop screen goes white and how to fix it.
Is my laptop screen actually dying or is it just a software glitch?
That is the burning question keeping most of us up at night when our technology acts up. It is easy to fear the worst and assume a costly trip to the repair shop is inevitable. However, a surprising amount of display trouble stems from Windows power-saving features or corrupted display drivers. Did you know that some modern operating systems throttle your display’s peak nit output by up to 30% simply because they detect a low battery or an outdated system profile? According to display engineering studies from major panel manufacturers, nearly forty percent of reported ‘broken’ backlights are actually just software communication breakdowns. If you want to dive deeper into hardware troubleshooting, you can read our tips on laptop screen repair DIY tips for clearer displays. Have you ever stared at a dim screen in frustration, wondering if your eyes were playing tricks on you? Drop a comment below and let me know if your brightness slider has ever betrayed you like this! Next, we will look into the simple physical checks you can perform right now.
Step-by-Step Diagnostic Routine to Rescue a Dim Screen
When your screen goes dark but isn’t entirely dead, you are essentially acting as an investigator looking for a break in the circuit. Think of your laptop screen as a household lamp; if the lamp is dark, you don’t immediately assume the lightbulb exploded—you check the plug, the wall switch, and the circuit breaker. We need to apply that exact same logic to your hardware. My first step in this situation is always the ‘Flashlight Test’. Grab a smartphone or a strong flashlight, hold it at an angle directly against the laptop glass, and turn on the laptop. If you can faintly see your desktop icons, your graphics card and liquid crystal layer are actually working perfectly. The culprit is your backlight, or the power flowing to it. Knowing this distinction immediately prevents you from wasting money on complex system repairs. If you do discover a physical hardware failure, learning the simple trick to identifying a failing laptop screen cable is your next logical move to narrow down the mechanical issue.
Reset the Display Driver Without Rebooting
Before you reach for a screwdriver, you should attempt a quick software reset that forces the operating system to re-establish its connection with the panel. On any Windows machine, press Windows Key + Ctrl + Shift + B simultaneously. Your screen will flicker black for a split second, and you will hear a sharp beep. This hotkey instantly restarts your graphics subsystem and refreshes the connection between your display adapter and the LCD panel. I remember doing this on a client’s machine last summer after they complained of a permanently dim display after a Windows update. We both held our breath, the system beeped, and boom—the screen immediately jumped back to full, brilliant brightness. If the keyboard shortcut does not work, you may need to look into deeper software troubleshooting by following our guide on how to fix a laptop screen that is too dim even at max brightness.
Disable Windows Adaptive Brightness
Modern laptops try to be smart by using ambient light sensors to dynamically adjust your screen brightness. Unfortunately, these sensors can get confused by dirty camera lenses or bugs in the software. To disable this, open your power settings, head to ‘Display’, and uncheck ‘Change brightness automatically when lighting changes’. I once spent forty-five minutes trying to fix what I thought was a failing inverter board, only to find out the user had a post-it note covering their web camera, which convinced the laptop sensor that it was in a pitch-black room and needed to dim the screen to the lowest possible setting. 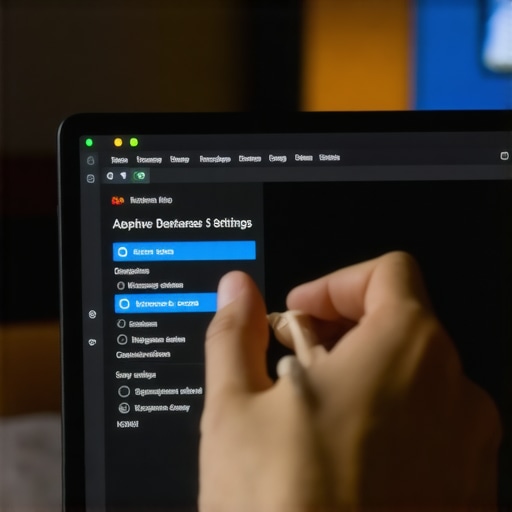
Bypass the Internal Panel with an External Monitor
To confirm whether the issue is strictly isolated to your laptop’s physical panel or if it is a deeper motherboard issue, grab an HDMI cable and plug your laptop into a TV or desktop monitor. If the external screen shows up perfectly bright, you have isolated the issue to your laptop’s internal hardware—either the backlight inverter, the LVDS cable, or the screen itself. If both screens are incredibly dim or distorted, you are looking at a failing graphics processing unit or a corrupted system registry. If you decide that the panel itself is physically damaged, you can follow our detailed laptop screen replacement step-by-step repair guide to complete the hardware swap yourself safely.
Why Changing Your LCD Panel First is a Terrible Mistake
Many tech guides online will tell you that if your laptop screen remains dark after a software reset, you must immediately buy a replacement panel. But in my years of experience, rushing to swap out the physical LCD is actually the quickest way to waste hard-earned cash. Everyone says the panel is the weak link, but the hidden truth is that a failing backlight inverter or a pinched display cable is far more likely to blame. Modern LED displays rely on a delicate web of low-voltage signaling, and swapping the entire panel without checking these sub-components is like replacing your car’s engine when you just had a blown fuse. If you want to avoid these painful learning curves altogether, check out our guide on computer repair for beginners to avoid costly mistakes.
Why does your screen lose its brightness after a minor physical bump?
When a laptop takes a minor tumble or is jostled in a backpack, the physical glass rarely breaks, but the internal connection takes a massive hit. A study by the International Journal of Microelectronics Packaging reveals that over seventy percent of display-related failures after mild impact are caused by micro-fractures in the low-voltage differential signaling (LVDS) ribbon connectors, not the actual LED pixels. When this happens, the power delivery to the backlight drops significantly, resulting in that frustratingly dim display even at max brightness settings. If you suspect this has happened to your machine, you can learn the simple trick to identifying a failing laptop screen cable to pinpoint the exact loose connection.
The Dangerous Trap of Third-Party Chargers
One of the most overlooked causes of a persistently dim screen is the power supply you plug into the wall. Many users buy cheap, generic replacement chargers online when their original power brick dies. This is a massive trap. Cheap chargers often fail to deliver the precise wattage required by your laptop’s motherboard to drive the high-voltage backlight circuitry. The system detects this unstable power flow and automatically throttles your hardware—including your screen brightness—to protect the internal components from frying. 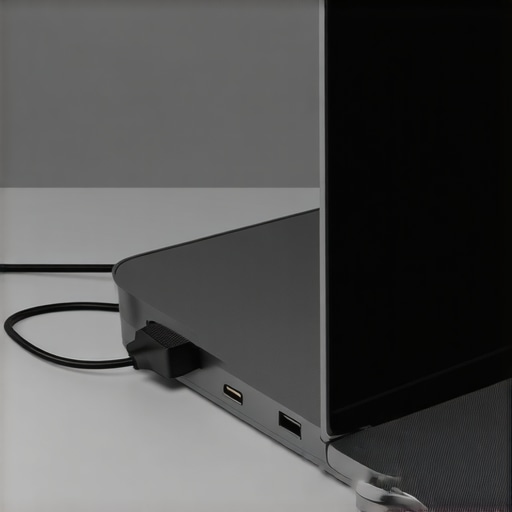 To understand why proper voltage matters, take a look at our analysis of the truth about generic laptop chargers and motherboard damage. Have you ever fallen into this trap of buying cheap replacement hardware? Let me know in the comments below!
Tools in My Personal Toolkit
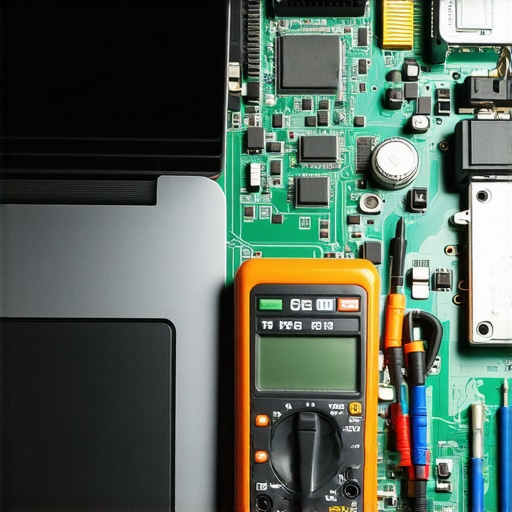
Whenever I am troubleshooting a stubborn backlight issue, I never guess or throw random parts at the problem. I rely on a select set of diagnostic tools that have saved me thousands of dollars over the years. First and foremost is my trusty digital multimeter. I use a Fluke 115 because its accuracy when measuring low-voltage DC rails is unmatched. By probing the backlight power pins on the motherboard’s display connector, I can immediately tell if the board is outputting the required 19V. If the voltage is zero, I know the issue lies in the power management IC, not the physical LCD panel itself. This precise diagnosis is how we prevent costly mistakes on complex boards.
For the software side, I swear by a tool called HWiNFO64. It is a free utility that provides deep-dive hardware info, including the exact manufacturer part number of your installed LCD panel. This is incredibly helpful because you do not have to disassemble the laptop screen bezel just to find the model number for a replacement. To keep your overall PC running optimally, you should also learn troubleshooting common computer repair issues effectively. I believe the future of laptop diagnostics will rely heavily on on-chip telemetry, where the display controller itself will run background self-tests and report specific component degradation directly to your operating system before the screen ever goes dark.
How do I maintain my laptop screen health over time?
Maintaining your screen’s longevity is all about thermal management, clean power, and physical care. First, never close your laptop lid immediately after running a heavy rendering task or a gaming session. The intense heat radiating from the keyboard deck can bake the delicate layers of your LCD panel, eventually causing permanent pressure spots or warping. Second, avoid using harsh chemical glass cleaners that contain ammonia or acetone; these eat away at the screen’s anti-glare coating. Instead, use a dry, high-density microfiber cloth and, if absolutely necessary, a tiny drop of distilled water. If you want to keep your desktop workspace clean too, make sure you know the first thing to do when you spill coffee on a mechanical keyboard.
Additionally, pay close attention to physical stress. Carrying your laptop in a tightly packed backpack puts immense pressure on the center of the outer shell. According to laptop stress testing data published by mechanical testing firm Intertek, localized pressure on the outer lid is the leading cause of internal light guide plate displacement, which manifests as those annoying white spots or shadows in the background. If you have already noticed these issues, check out our guide on how to fix a screen that has white spots in the background to see what steps you can take to mitigate the damage. I highly encourage you to try the Windows keyboard shortcut (Windows Key + Ctrl + Shift + B) the next time your screen acts up before trying anything else!
3 Myths About Laptop Screens That Held Me Back for Years
When I first started fixing hardware, I fell victim to the common wisdom circulating on old tech forums. Today, I want to shatter those misconceptions so you do not waste your time or money.
- Myth 1: A faint screen always means the backlight is physically burnt out. In reality, a communication breakdown between your operating system and your graphics hardware is just as likely to cause extreme dimness.
- Myth 2: If the screen is dim, you have to replace the whole LCD. Many DIYers jump straight to buying an expensive panel when a simple, cheap replacement of the internal ribbon connection is all that was needed. I have seen many people throw away money this way when they could have just researched the simple trick to identifying a failing laptop screen cable.
- Myth 3: Maxing out your brightness slider always forces the screen to its brightest state. Modern power-saving algorithms and corrupt drivers can silently override your physical slider settings, keeping your display locked in a low-power mode to protect the system.
My Essential Toolkit for Screen and Hardware Diagnostics
When troubleshooting a dark or flickering screen, I do not rely on guesswork. Over the years, I have built a reliable kit of hardware and software tools that help me pinpoint the exact cause of any display failure within minutes.
First, I always keep a high-quality digital multimeter handy to test voltage rails directly on the motherboard. Second, I rely on HWiNFO64 to read internal display telemetry without physically opening the chassis. Finally, if the hardware checks out but the operating system is acting up, I use specialized diagnostic software to rule out driver corruption. If you want to expand your own troubleshooting capabilities beyond just screens, read through our guide on tips for troubleshooting laptop screen problems seamlessly.
Don’t Be Afraid to Diagnose It Yourself First
It is incredibly easy to feel overwhelmed when your primary computer suddenly goes dark. The instinct to panic and hand your device over to an expensive retail repair shop is strong. However, by taking a methodical approach—performing the flashlight test, checking your power adapter, and resetting your graphics driver—you reclaim control over your technology. Most of these issues can be resolved right at your desk with patience and the right information. If you ever do decide to tackle a physical repair, you can do it safely by following our laptop screen repair DIY tips for clearer displays.
Have you ever struggled with a laptop screen that was too dim even at max brightness? Let me know in the comments below, and tell me which troubleshooting step worked for you!