

I still remember the smell of stale coffee and the sound of my own heart thumping against my ribs when my laptop slid off the couch. The laptop was fine, but the USB drive sticking out the side? Not so much. The connector didn’t just bend; it snapped clean off, leaving the silver tip on the floor and the green circuit board exposed. That little piece of plastic held three months of unbacked-up client work. I panicked. I tried to “hold” it together while plugging it back in—a massive mistake that almost fried my motherboard. It was a visceral lesson in why hardware doesn’t forgive impatience. If you are staring at a broken stick of plastic right now, take a deep breath. We are going to get those files back. This isn’t just about saving a five-dollar piece of hardware; it is about reclaiming your time and sanity. Today, I am walking you through the exact steps to bridge those broken connections and pull your files into safety, much like I’ve had to do countless times when [troubleshooting common computer repair issues effectively](https://computerrepairmasters.com/troubleshooting-common-computer-repair-issues-effectively) for my neighbors and clients.
That Sickening Snap and What Happens Next
The reason this topic matters so much right now is simple: our lives are increasingly portable, but our hardware is still surprisingly fragile. A single wrong move or a snagged cable can separate you from your most important documents. Most people assume that once the silver tip is gone, the data has vanished into the ether. That is a myth. The data actually lives in the NAND flash memory chip, which is rarely damaged in a simple drop or snap. The real challenge is that the “bridge”—the USB connector—is dead. If you’ve ever looked into [the power of data recovery tools](https://computerrepairmasters.com/the-power-of-data-recovery-tools-what-you-need-to-know), you know that the logic board is just a middleman. We are going to bypass that middleman.
Is this actually worth the effort?
You might be wondering if it is safer to just throw the drive away and mourn the loss. If the files are replaceable, maybe. But for most of us, those folders represent hours of work or irreplaceable memories. While some [data recovery secrets every business should know today](https://computerrepairmasters.com/data-recovery-secrets-every-business-should-know-today) focus on software, physical repair is a different beast that requires a steady hand and a bit of bravery. According to a surprising industry insight from professional recovery labs, nearly 90% of data on physically damaged flash drives is recoverable as long as the memory chip itself hasn’t been cracked or shorted out. I made the mistake early in my career of thinking I could just tape the wires back together. I ended up stripping the copper pads right off the board, making a simple job nearly impossible. Learn from my shame: don’t force it. Have you ever experienced that moment of pure dread when a drive snaps? Tell me your story in the comments—I want to know if you were able to save the day or if you’re looking for a way out of that mess right now. In the following sections, we will look at how to identify the damage and when it’s time to pick up the soldering iron or call in the pros.
Look Closely at the Green Board First
Before you even think about plugging that drive back in, you need to play detective. Think of the USB connector like a bridge over a canyon; if the bridge is gone, the cars (your data) are stuck on the other side. Grab a magnifying glass—or use the macro mode on your smartphone camera—and look at where the silver connector used to sit. You are looking for four distinct copper pads. If those pads are still attached to the green circuit board, you are in luck. If they have been ripped off, leaving bare fiberglass underneath, you are moving into territory where why drive savers remains the only choice for physically damaged drives because you will likely need to scrape away the board’s protective coating to find a new connection point.
Identify Your Four Vital Connection Points
Every standard USB 2.0 drive has four lanes: Power (5V), Ground, Data+, and Data-. If you look at the board, these are usually arranged in a neat row. I once had a client named Mark who brought me a drive that had been stepped on. He was frantic because his taxes were on it. Upon inspection, I saw that only the far-left pad (Power) was severed. Because I understood computer repair for beginners avoid costly mistakes, I didn’t try to solder the connector back on—it was too unstable. Instead, I soldered a single thin copper wire from an old Ethernet cable to bridge that gap. The second I touched the wire to the pad, the drive’s LED flickered to life. It was a high-stakes game of Operation, and we won.
Brace the Board for Stability
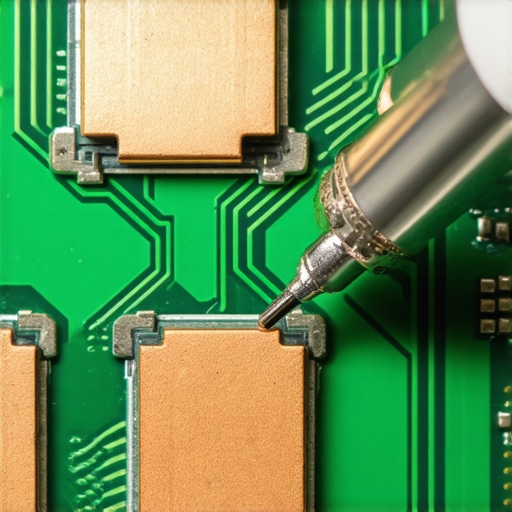
Precision requires a steady surface. If you try to hold the drive in your hand while soldering, you will fail. Use a “helping hand” tool or even a glob of poster putty (Blue Tack) to secure the drive to your desk. This prevents the board from sliding around while you are working with temperatures that can melt plastic in seconds. Much like laptop screen repair how to fix common issues at home, the secret isn’t just having the right tools; it is about creating an environment where you don’t accidentally create more damage with a shaky thumb. If the pads are intact, your goal is to “tin” them—apply a tiny, microscopic amount of solder to each pad to prepare it for the bridge.
The Four-Wire Rescue Mission
Instead of trying to force the broken silver tip back onto the board, use a donor USB cable. Cut the end off a cheap USB cable and strip the four wires inside (usually Red, Black, White, and Green). This creates a flexible umbilical cord that won’t put physical stress on the fragile circuit board. Match the colors to the pads: Red is 5V, Black is Ground, and White/Green are your data lines. This technique is one of those data recovery secrets expert techniques to save your files fast that pros use when the physical housing is trashed. By using a flexible cable, you avoid the lever-effect that snapped the connector in the first place.
Know When to Fold Your Hand
If you see smoke, or if the NAND chip (the big black rectangle) feels hot to the touch, stop immediately. Heat is the enemy of flash memory. Just as laptop screen repair DIY tips for clearer displays require knowing your limits, physical data recovery requires an ego check. If you have already tried to solder it and the pads are lifting, you are making the job harder for a professional lab. Every failed DIY attempt reduces the success rate of a professional recovery. If those files are the only copy of your business’s financial records, it might be time to look into managed IT solutions streamlining operations for small businesses to ensure you never have to play surgeon with a soldering iron ever again.
Most people think the first step to recovering lost files is downloading an expensive suite of tools. In my experience, that is exactly how you turn a minor repair into a total loss. Software is designed to communicate with a healthy controller. If your USB bridge is physically cracked or the internal connections are unstable, the danger of using free file recovery tools on a failing mechanical drive or flash stick is that you risk a ‘thermal runaway.’ This happens when the NAND chip overheats because it is stuck in a loop trying to read corrupted sectors through a failing physical connection. You aren’t just searching for files; you are cooking the very memory that holds them. Have you ever fallen into this trap? Let me know in the comments—I have seen many people lose everything because they prioritized code over copper.
Can you really bypass a dead controller at home?
For the advanced DIYer, the question usually turns to controller swaps. This is a common myth: the idea that you can just unsolder the NAND chip and stick it on an identical ‘donor’ board to get your files. This rarely works on modern drives because of something called controller-level encryption. Most modern flash drives and SSDs use a controller that encrypts data at the hardware level. If you move the chip to a new board, the new controller won’t have the unique ‘keys’ to read the data, and all you’ll see is encrypted gibberish. This is exactly why drive savers remains the only choice for physically damaged drives that involve more than just a broken USB pin. A 2023 industry report by Ontrack suggests that nearly 40% of failed DIY recovery attempts are the result of physical media degradation that software or simple parts-swapping cannot solve.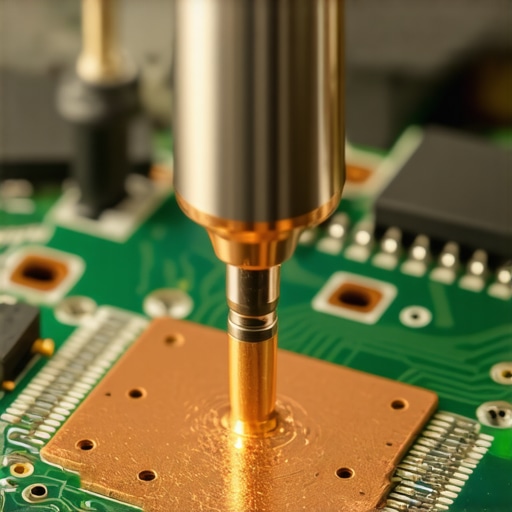
The Tiny Screw That Kills a Motherboard
The most dangerous moment isn’t the repair itself; it’s the reassembly. I call this the ‘victory lap’ mistake. In the world of computer repair for beginners avoid costly mistakes, the ‘long-screw’ error is legendary. You might have successfully bridged your USB connection, but if you use a screw that is even half a millimeter too long when putting the casing back together, you can pierce the motherboard’s layers, causing an internal short. This is particularly common in laptops where various screw lengths are used in the same frame. Much like laptop screen replacement step-by-step repair guide procedures, you must map your screws perfectly. One wrong turn, and your data recovery mission becomes a full-system funeral.
Stop Relying on Hardware Miracles
If you are a business owner playing surgeon with a soldering iron, you are already behind the curve. While these physical tricks are great for one-off rescues, they are a poor substitute for structural security. Transitioning toward managed IT solutions streamlining operations for small businesses ensures that your data is mirrored in the cloud and on local redundant arrays before the physical hardware ever has a chance to snap. Instead of wondering if your ‘helping hand’ tool is steady enough, you could be focusing on growth. If you are still at the stage of fixing drives on your desk, remember: the goal of data recovery secrets expert techniques to save your files fast is to get the data off once and never trust that physical drive again. Treat every successful recovery like a lucky break, because in the world of hardware, you rarely get a second one.Once you see those files pop up on your screen after a successful bridge, your instinct will be to celebrate. Don’t. Your only mission now is to copy every single byte to a stable environment. A repaired USB drive or a patched-up motherboard is a ticking time bomb. In my shop, I treat these as ‘single-read’ devices. You get one chance to pull the data, and then you should properly decommission old office PCs without leaking sensitive data to ensure that fragile hardware never causes a headache again. If you keep using a drive that you’ve soldered back together, you are essentially daring the universe to delete your work.
The Soldering Station I Swear By
I’m often asked what tools I use for these high-stakes rescues. I don’t use the cheap $15 irons from the big-box stores. I rely on a Hakko FX-888D soldering station because its thermal recovery is fast enough to prevent ‘cold’ joints. More importantly, I never work without Amtech NC-559-V2-TF flux. According to the IPC-A-610 standards, which define the acceptability of electronic assemblies, the quality of the solder joint is entirely dependent on the cleanliness of the connection and the heat control. Using high-quality flux isn’t a luxury; it’s the difference between a bridge that holds for ten minutes and one that snaps the moment you plug it in.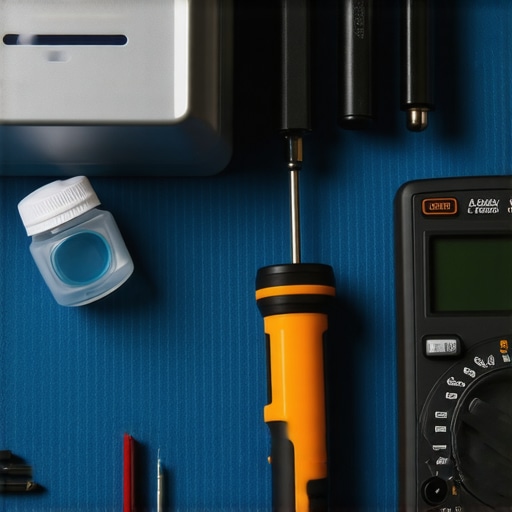
How can I keep my hardware from failing in the first place?
The best maintenance is actually vigilance. Most people wait for the ‘snap’ or the ‘click’ before they act. However, if you are paying attention to the risk of ignoring that smart status bad warning on your pc, you can catch a drive failure months before it happens. I recommend setting up automated health checks. For my business clients, this is where effective managed IT solutions for growing companies really shine. We don’t wait for things to break; we use telemetry to see if a fan is spinning too slowly or if an SSD is reaching its write limit. For instance, knowing the move that keeps your server running when a cooling fan dies can save you thousands in emergency data recovery fees later.
Why the Next Decade Favors Modular Machines
Looking ahead, I see the world of repair shifting toward modularity. We are seeing companies like Framework challenge the ‘glued-together’ philosophy of modern tech. In the future, you won’t need to bridge copper pads with a microscopic wire because the USB port will be a $10 user-replaceable module. Until then, you need a solid disaster recovery plan before the storm hits. My advanced tip for today: Grab a spare USB cable, strip it down, and practice soldering those tiny wires to a ‘junk’ circuit board this weekend. Getting that muscle memory down now will save you from a panic-induced mistake when your real data is on the line.
The Hard Lessons I Learned While Holding a Soldering Iron
After years of repairing snapped connectors, I’ve realized that the physical fix is only 20% of the battle. The most common mistake I see is ‘The Jiggle’—trying to hold the connector in place by hand while the computer is on. This creates tiny electrical arcs that can fry the NAND chip instantly. Another bitter truth is that not all solder is equal; if you aren’t using leaded solder for these tiny repairs, you’re likely going to need more heat than the board can handle. I’ve also learned that if the drive doesn’t mount within the first three tries after a repair, you need to step away. Repeatedly power-cycling a damaged board is a recipe for a permanent lockout.
My Go-To Kit for High-Stakes Data Rescue
If you want to move beyond basic hobbyist repairs, you need a setup that minimizes variables. I always keep a bottle of 99% Isopropyl Alcohol nearby to clean off old oxidation before I even touch the iron. For the actual bridging, I use 30 AWG kynar-insulated wire; it’s thin enough to be precise but strong enough to handle a bit of movement. I also highly recommend a digital microscope—even a cheap USB one—because seeing those traces in 40x magnification makes data recovery secrets expert techniques to save your files fast actually possible for the human eye. If the damage is beyond a simple bridge, don’t forget why drive savers remains the only choice for physically damaged drives when the data is truly priceless.
The Path from Fragile Hardware to Digital Peace of Mind
Successfully recovering your files is a rush, but it’s also a warning shot. Hardware will always be the weakest link in your workflow. The ultimate goal isn’t to become a master of the soldering iron, but to build a system where a snapped USB drive is a minor annoyance rather than a catastrophe. By moving toward managed IT solutions streamlining operations for small businesses, you remove the ‘single point of failure’ from your life. Take this moment to back up your recovered files in at least two different places—one physical and one cloud-based. You’ve beaten the odds today; don’t give the universe a second chance to take your data. Have you ever managed to save a file from a drive that looked completely destroyed, or did you have to learn the hard way? Let me know your recovery stories in the comments below!