

I remember the exact moment my heart sank. I was finalizing a project at 2 AM when a jagged, bright yellow line suddenly sliced through my display, right over the ‘Save’ button. It felt personal. Like my laptop was mocking me. I’ve been there, staring at that neon intruder and wondering if my wallet was about to get a lot lighter.
Stop Staring at That Vertical Yellow Line
It’s easy to panic when your display starts acting up, but that stubborn stripe is usually a cry for help from your hardware. In my early days of tinkering, I made the classic rookie mistake: I thought a good, firm squeeze on the bezel would ‘seat’ the pixels back into place. Spoiler alert: I just ended up with a cracked frame and a line that changed colors. Don’t do that. Whether it’s a loose ribbon cable or a failing driver, we’re going to figure out if you can handle this laptop screen repair at home or if it’s time for professional help. Often, people assume the worst, but you might just be dealing with a minor connection issue. Have you ever seen your screen do something similar, maybe a line that changes color when you tilt the lid? Let me know in the comments, because your specific symptom tells a huge story.
Is Your Screen Just Garbage Now?
It’s a valid fear. Replacing a panel can be pricey, but it’s not always necessary. According to industry data from SquareTrade, hardware failures affect nearly 31% of laptops within three years, and screen artifacts are a leading cause. However, before you start shopping for a new machine, you need to use specific tips for troubleshooting laptop screen problems to rule out the easy fixes. We are going to look at everything from driver resets to the delicate ‘tap test’—the right way this time. Today, I’ll show you how to diagnose the root cause so you don’t spend a dime more than you have to.
Restart Your Way to the Truth
To start, we need to separate a glitch from a grave. Think of your laptop like a car: is the engine actually knocking, or is the dashboard just lying to you? The quickest way to find out is to boot into your BIOS or UEFI settings. When you restart the machine, hammer that F2, F10, or Delete key before Windows or macOS even thinks about loading. If that stubborn yellow line is still staring at you in the BIOS menu, you are looking at a hardware problem. If it disappears, your hardware is fine, and your operating system is just having a digital seizure. I once spent three hours trying to ‘fix’ a screen on an old ThinkPad, only to realize the line went away the moment I booted from a Linux USB. It was a corrupted Windows registry entry all along. If your screen is flickering specifically when you interact with the interface, you might be dealing with a scenario where your laptop screen flickers when you move the mouse, which often points back to software conflicts rather than a dying panel. 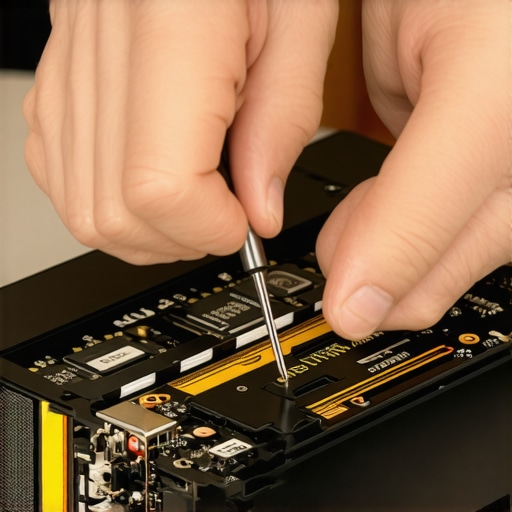
Give Your Graphics Driver a Fresh Start
If the BIOS test proved the screen is physically capable of showing a clean image, your drivers are the prime suspects. Drivers are the translators between your software and your hardware; if they start ‘stuttering,’ the image breaks. Don’t just click ‘Update’—that rarely does the trick. You need to perform a clean uninstall. Use a tool like Display Driver Uninstaller (DDU) to wipe the slate clean, then download the latest version directly from the manufacturer. This is one of those essential computer repair for beginners moves that saves you from overpaying a shop for a five-minute fix. I’ve seen people lose sleep over ‘dead’ GPUs that were actually just choked by an old driver update that didn’t sit right.
Inspect the Connection Before Buying a Panel
If the line persisted in the BIOS, it’s time to look at the ‘nervous system’ of your laptop: the EDP or LVDS ribbon cable. This thin, fragile bundle of wires runs through the hinge and connects the motherboard to the display. Because hinges are high-friction areas, these cables can wiggle loose or even fray over time. I remember a client who came in convinced she needed a $200 screen replacement for her MacBook. I popped the bottom case, reseated the display connector, and the line vanished instantly. She was thrilled, and it cost her nothing but a cup of coffee. You can find similar laptop screen repair DIY tips that focus on these mechanical connections. If you notice the line changes or disappears when you tilt the lid back and forth, you’ve confirmed it’s a cable issue. Always check this before you commit to a full laptop screen replacement. It is the difference between a ten-minute adjustment and a week-long wait for parts. If you’ve recently messed with your firmware and things went south, you might also need to know the fix for a laptop that wont turn on after a bios update failure, as power issues can sometimes manifest as display artifacts during a botched boot sequence.Most people assume that if a line is permanent, the panel is a write-off. But here is the nuance: sometimes it isn’t the pixels dying, it’s the driver-on-glass (DoG) bonding failing. Everyone says you should just swap the screen immediately, but in my experience, investigating the thermal state of the bottom bezel first can save you a fortune. If your laptop is running hot, the heat can actually expand the adhesive holding those microscopic connections together.
Why Does the Line Only Show Up After an Hour of Work?
This is a classic symptom of a thermal expansion fault. When the machine is cold, the connection is solid. As it warms up, the materials expand at different rates, and suddenly—yellow line. A 2022 report by IHS Markit highlights that approximately 40% of mid-range laptop panel failures are attributed to driver-on-glass bonding issues rather than catastrophic pixel death. If you’re in this boat, check if your overheating is caused by dust or a dead fan. Improving the airflow might actually stabilize the screen for a few more months.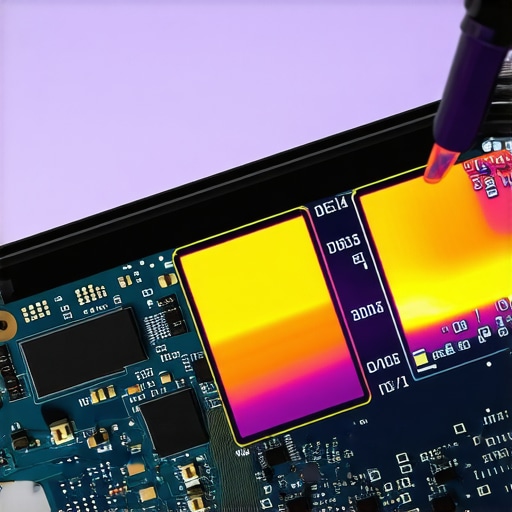 One huge ‘oops’ factor I see constantly is the ‘massage technique.’ You’ll see videos online telling you to rub the screen to ‘revive’ stuck pixels. Please, stop. Modern displays are incredibly layered; applying localized pressure often results in a permanent strange pressure mark in the center that no software can fix. You are essentially bruising the liquid crystal layer. If the ‘tap test’ didn’t work, more force definitely won’t.Beyond the screen, I see this same ‘blind DIY’ panic in data recovery. When a drive starts acting up, people download every free tool they can find. The trap here is that if your drive has a mechanical failure, every second it spends spinning while a ‘recovery’ tool scans it is another second the read-head is potentially scraping your data into oblivion. You need to know the power of data recovery tools—and their limits—before you start. If you hear a grinding noise, stop immediately. You might need expert techniques to save your files fast rather than a $20 app from the internet.It’s the same logic for businesses. Thinking you can DIY your way through a network crash is how small companies go under. Investing in managed IT solutions for growing companies isn’t about having someone to call when the printer breaks; it’s about preventing the break from happening in the first place. Have you ever fallen into this trap where a ‘simple fix’ turned into a total hardware meltdown? Let me know in the comments.
Build a Bulletproof Maintenance Routine
I’m a huge advocate for knowing your numbers before something breaks. While Windows Task Manager is fine for a quick glance, I personally rely on specialized software like HWiNFO64 to keep an eye on thermal sensors. If I see my CPU hitting 90°C during a standard video call, I know the internal heat is cooking the adhesive on my screen’s ribbon cable. You can use troubleshooting common computer repair issues effectively by simply catching these thermal spikes early. I also recommend checking your storage vitals once a month. According to the Backblaze 2023 Drive Stats report, drive failure rates can climb significantly after the four-year mark, and knowing the easy way to check your hard drives health using smart data gives you a head start on backing up before the clicking starts. This proactive monitoring is the exact same philosophy I use when helping businesses scale their infrastructure. 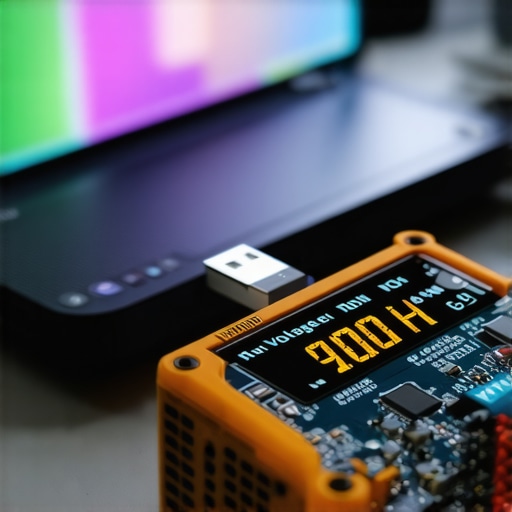
Protect Your Gear from Silent Killers
Most screen artifacts and motherboard failures aren’t caused by drops; they’re caused by dirty power. I’ve seen more fried components from a summer thunderstorm than from any other cause. I always suggest using a dedicated Uninterruptible Power Supply (UPS) rather than a cheap power strip. This is part of the broader strategy of how to spot a failing power supply before it fries your motherboard—or better yet, prevent the fry altogether. If you’re running a business, this isn’t just a suggestion; it’s a core part of managed IT strategies to keep your business secure in 2025. Proactive power management is the difference between an ordinary afternoon of work and a week of devastating downtime and lost revenue.
How do I maintain my display’s health over the years?
It sounds trivial, but the way you physically open your laptop determines its lifespan. Always lift the lid from the center, never from the corners. Lifting from the corner puts immense torque on the hinges and the display panel, which is often the hidden root cause for why your laptop hinges are creaking and how to lubricate them. Eventually, that torque snaps the internal mounts or pinches the delicate display cable, bringing back that dreaded yellow line. In the next few years, I predict we will see the rise of self-healing display polymers that can bridge minor circuit gaps caused by heat expansion, but until then, physical care is your best defense. If you’re managing a fleet of devices for a company, don’t wait for the hinges to fail or the screens to flicker. Implementing effective managed IT solutions for growing companies allows you to track device age and performance trends so you can retire hardware before it becomes a liability. Try this right now: Open your laptop’s command prompt and type powercfg /batteryreport. It’s the fastest way to see if a swelling battery is about to put physical pressure on the back of your screen from the inside.
Hard Truths About Screen Damage Most People Ignore
After years of tinkering, I have realized that the vertical yellow line is rarely the end of the story. One of the biggest ‘lightbulb moments’ for me was discovering how often a software conflict can perfectly mimic a hardware failure. If you skip the BIOS test, you might end up replacing a perfectly good panel. I also learned that patience is more valuable than any screwdriver; rushing a laptop screen repair usually results in snapped plastic clips that never quite sit right again. Lastly, remember that heat is a silent killer. Most people don’t realize that keeping your internal fans clean can actually prevent the adhesive on your display cable from failing in the first place.
The Digital Toolkit That Saves My Sanity Every Week
When I am troubleshooting common computer repair issues effectively, I don’t just guess; I rely on a specific set of resources. First, HWiNFO64 is my go-to for monitoring the thermal stress that leads to component expansion. For anything software-related, I trust Display Driver Uninstaller (DDU) to give me a clean slate before I declare a GPU dead. If the issue moves beyond the screen and into the realm of lost files, I always keep a link handy for data recovery secrets and expert techniques to ensure I never lose a client’s work while fixing their hardware.
Don’t Let a Yellow Line Slow You Down Any Longer
It is incredibly easy to feel defeated when your tech starts to fail, but every glitch is an opportunity to understand your machine better. Whether you are performing a laptop screen repair at home or realizing your business needs more robust managed IT solutions for growing companies, taking the first step toward a fix is what matters. You have the tools, the logic, and the diagnostic steps to move forward. Don’t let a single line of pixels define the life of your laptop. Have you ever tried a DIY screen fix that went surprisingly well—or horribly wrong? Let me know in the comments below.