

I remember sitting at my desk three years ago, staring at a tiny piece of plastic that held six months of my daughter’s first steps. I’d just finished a photo shoot, but when I slid that microSD card into my laptop, the screen stayed blank. No notification. No drive letter. Just a deafening silence from the OS. My heart sank into my stomach. I’ve spent over a decade in the IT world, but in that moment, I felt like a total amateur. I panicked. I started pulling the card out and shoving it back in like a madman, which is exactly how you turn a software glitch into a physical hardware failure. That was my first big mistake. If you are staring at a card that refuses to show up, take a deep breath. We are going to fix this together. Today, I am going to walk you through the exact steps I used to go from ‘no drive found’ to a full folder of recovered JPEGs, all without losing your mind or your savings.
When the Silent Treatment from Your SD Card Feels Like a Disaster
Dealing with a card that won’t mount is a special kind of hell because you can’t even start using standard software if the computer doesn’t see the device. It feels like trying to open a door that doesn’t have a handle. In my early days of computer repair for beginners, I used to think a non-mounting card was a death sentence. I was wrong. Often, the issue isn’t that the data is destroyed; it’s that the ‘handshake’ between your card and the operating system has failed. According to industry research from Backblaze, even high-quality flash media can suffer from controller failure while the actual NAND storage chips remain perfectly intact. This means your photos are likely still there, just trapped behind a broken gate.
Is your data actually gone forever?
This is the fear that keeps us up at night, right? You wonder if that little plastic sliver just turned into a very expensive toothpick. Most of the time, the answer is no. Unless you’ve snapped the card in half or it’s been through a literal fire, there’s a path to recovery. I’ve seen cards that were submerged in water and cards that ‘died’ during a firmware update come back to life with the right nudge. Before you give up, you need to understand the power of data recovery tools that operate at a deeper level than your standard File Explorer.
The First Steps I Take When My Computer Ignores My Card
My go-to move now is a lot more methodical than my old ‘plug and pray’ method. We have to determine if this is a dirty contact, a dead card reader, or a corrupted partition table. I once spent two hours trying to ‘fix’ a card only to realize my USB hub was the culprit. Don’t be like me. We’ll start with the hardware basics and move into the expert techniques to save your files fast. If you have ever dealt with a card that says it is empty or simply won’t show up, have you tried checking it on a different operating system yet? Sometimes a Mac will see what a PC ignores. We are going to explore how to force the system to recognize the hardware so we can begin the actual rescue. Have you ever had an SD card just ‘vanish’ on you right when you needed it most? Let me know, and let’s get into the nitty-gritty of the recovery process.
Rule Out a Dead Card Reader Before You Panic
Usually, our first instinct is to blame the SD card, but the culprit is often the translator—the card reader. Think of your card reader like a translator in a high-stakes meeting. If the translator is asleep or speaking a different language, the message never gets through. I once had a client bring in a microSD from a drone that had crashed into a pond. I spent three hours trying to software fix it, nearly pulling my hair out. Then I noticed a tiny smudge of dried pond scum on the gold pins. I cleaned it with a Q-tip and 90 percent isopropyl alcohol, and boom—the drive letter popped up. It was a classic computer repair for beginners mistake. Before you do anything else, try a different USB port or, better yet, a different computer. If it works there, your card is fine, and your PC needs some love. 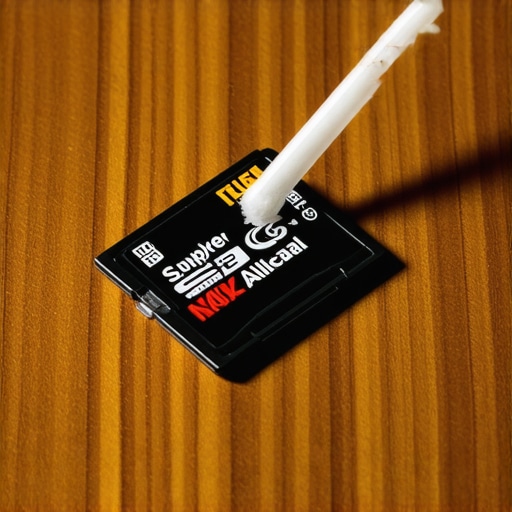
Force Windows to Acknowledge the Hardware
If the physical pins are clean and the reader is working, we need to see if the computer even knows something is plugged in. On Windows, right-click the Start button and open Disk Management. On a Mac, open Disk Utility. If you see your card listed there but it doesn’t show up in your folders, it is like a person standing in a room who refuses to introduce themselves. This often happens with a camera card that says it is empty or won’t mount. If the card shows as Removable but has no drive letter like D or E, right-click the partition and select Change Drive Letter and Paths. Assign it a new letter. It sounds too simple to work, but this tiny handshake fix is a cornerstone of troubleshooting common computer repair issues effectively.
Fix a Drive That Has Lost Its Identity
Sometimes the card shows up as RAW or Unallocated. This means the Table of Contents for your data has been ripped out. The data is still on the pages, but the computer does not know where the chapters start. This is where you need to pull data from a drive with a corrupted file system header. Do not click Format if Windows asks you to. Formatting is the nuclear option that wipes the map entirely. Instead, use a tool that can scan the NAND chips directly. I prefer specialized software that ignores the file system and looks for file signatures like FF D8 which is the start of every JPEG.
When to Pull Out the Heavy-Duty Recovery Tools
If Disk Management does not see the card at all, we are moving past simple glitches. You might be dealing with a controller that has locked itself to prevent further damage. You can try specialized tools that focus on deep-sector scanning. I remember a wedding photographer who had a card die mid-reception. We used a tool to create a bit-by-bit clone of the card before even trying to repair it. This ensures that if the hardware is dying, you have at least one shot at the data on a healthy drive. Understanding the power of data recovery tools is the difference between a total loss and a successful rescue.
Let’s dig deeper into why most DIY attempts end in tears. Most standard how-to guides tell you to run CHKDSK or a disk repair utility as your first move. In my experience, that is the single fastest way to turn a recoverable situation into a permanent loss. Why? Because those tools are designed to fix the file system, not to save your data. If your SD card or hard drive has physical sector damage, a repair utility will try to move data blocks around to clean up the mess. This process involves writing to the drive, which can overwrite the very photos you are trying to rescue. It’s like trying to reorganize a library while the building is on fire; you are just going to get burned. 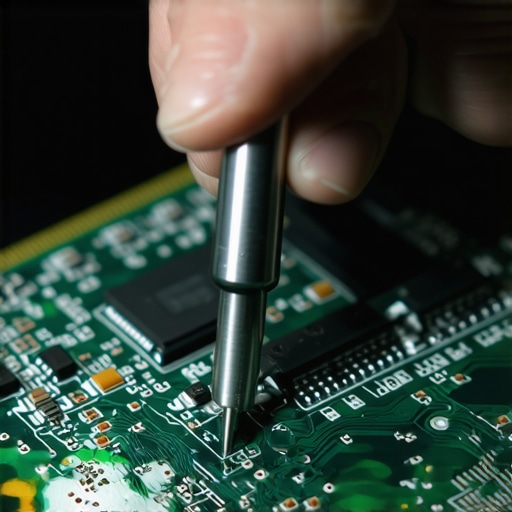
One of the biggest traps people fall into is the reboot and try again loop. Each time you power on a failing drive, the mechanical or electrical stress increases. According to industry data from Seagate, the failure rate of a struggling drive increases exponentially every time it is forced to spin up without proper stabilization. Instead of trying to force a mount, I always advocate for creating a bit-for-bit image of the card first. This is one of the data recovery secrets every business should know today. By working on a copy, you leave the original hardware untouched and prevent further degradation.
Is that clicking sound actually a death sentence?
When a drive starts clicking or an SD card gets burning hot, the software layer is no longer relevant. At this stage, you aren’t just troubleshooting common computer repair issues effectively; you are in the realm of hardware forensics. If you hear physical noises, stop everything. No software in the world can fix a broken read/write head or a cracked NAND chip. In these cases, why drive savers remains the only choice for physically damaged drives becomes clear—they have the specialized cleanrooms and tools you simply do not have at home.
I once saw a guy try the freezer trick on a modern SSD because he read it on an old forum. Pro tip: do not do that. While it occasionally worked for old spinning platters in the 90s by shrinking metal components, on modern flash media, it just causes condensation and shorts the circuit board. If you want the ultimate guide to data recovery after accidental deletion, it starts with patience and isolation, not a trip to the kitchen freezer.
Another nuance people miss is the difference between deleted and overwritten. When you delete a file, the OS just marks that space as available. The data is still there. But if you keep using the card—taking more photos or running repair scripts—you are scribbling over those old memories. You need to learn how to pull data from a drive with a corrupted file system header without letting the OS interfere. This is the oops factor that separates a successful pro from someone who makes common computer repair for beginners mistakes. Have you ever fallen into the trap of letting Windows fix your drive only to find everything gone? Let me know in the comments, and let’s talk about how to avoid that next time.
I’ve spent thousands on software over the years, but I always come back to a few specific workhorses when a drive fails. For logical failures—where the hardware is technically sound but the files have vanished—I rely heavily on R-Studio. It isn’t the prettiest interface you’ll ever see, but its ability to handle ‘virtual RAID’ reconstruction and raw file signatures is unmatched in the industry. While many people start with free versions of popular software, those tools often lack the ‘forensic’ mode required to bypass a corrupted OS handshake. This is why I emphasize the power of data recovery tools that allow for sector-by-sector imaging before you even attempt a repair. If you aren’t working from a clone, you are gambling with your only copy of those memories.
The Pro Tools I Reach For First
When I’m in the lab, my first move is rarely to ‘fix’ the card. Instead, I use a hardware-software combo like the DeepSpar Disk Imager or a dedicated Linux-based environment to pull an image. Why? Because Windows and macOS are inherently ‘chatty’—they want to write metadata to every drive they touch. This can accidentally overwrite the very sectors you need to rescue. If you want to avoid computer repair for beginners blunders, you have to learn to treat every failing drive as if it only has five minutes of life left. According to the Backblaze 2023 Drive Stats report, flash-based media often exhibits a ‘cliff-edge’ failure profile, meaning once it starts to go, it goes completely. This is one of the many data recovery secrets every business should know today to prevent catastrophic downtime.

Your SD Card Is Not A Hard Drive
We often treat these little plastic chips like permanent vaults, but they are built for temporary transit. If you are keeping the only copy of your tax returns or baby photos on a microSD card for months, you are living on borrowed time. For my professional clients, I always move them toward effective managed it solutions for growing companies that include automated cloud syncing. You shouldn’t have to think about your backups; they should happen in the background while you sleep. Implementing managed it strategies to keep your business secure in 2025 means moving away from single points of failure like external drives and toward redundant, immutable storage systems.
How can I prevent another data meltdown?
The solution is the 3-2-1 rule, but with a modern twist. You need three copies of your data, on two different media types, with one located off-site. In the old days, that meant burning a DVD and putting it in a drawer. Today, that means your local SSD, a secondary NAS or high-capacity HDD, and an encrypted cloud provider. If you are running a small team, having a disaster recovery plan before you need it is the only way to ensure that a simple ‘drive not found’ error doesn’t turn into a week of lost revenue. I’m also seeing a shift toward AI-driven data recovery. In the near future, specialized neural networks will likely be able to ‘predict’ the missing bits of fragmented JPEGs by analyzing the surrounding data patterns, making even partially overwritten files potentially recoverable.
My challenge to you today is simple: Don’t wait for the next ‘drive not found’ screen. Go find your most important folder and make sure it exists in at least two other places right now. If you want to level up your skills, download a trial of a professional imaging tool and practice making a bit-for-bit clone of a healthy USB drive. It is the best way to ensure you don’t panic when the real thing happens.
Three Realities of Modern Data Recovery I Learned the Hard Way
After years of recovering files, I’ve realized that the most common mistakes aren’t technical; they are emotional. When we panic, we stop thinking logically. I’ve learned that the first five minutes after you realize a drive is failing are the most critical. If you stay calm, you can follow an ultimate guide to data recovery after accidental deletion and likely get everything back. But if you start clicking ‘Format’ or running aggressive repair scripts, you might be sealing your data’s fate.
- Hardware wears out faster than you think: Treat every SD card as a temporary storage vessel, not a permanent vault.
- Redundancy is better than any recovery tool: Even the most expensive software can’t beat a simple secondary copy.
- Software has limits: Knowing the power of data recovery tools means knowing when to stop and call a professional.
My Personalized List of Must-Have Rescue Gear
When a client brings me a camera card that says it is empty, I don’t just reach for any software. I have a specific workflow that starts with isolation. I trust R-Studio for complex logical recoveries because it handles raw file signatures better than anything else I’ve tried. I also keep a dedicated Linux machine for imaging drives that Windows won’t mount. For physical damage, I never gamble; I send it to experts who have cleanrooms. You should also ensure your team understands data recovery secrets every business should know today to prevent accidental data loss in the office.
#IMAGE_PLACE_HOLDER_E#
Your Data Deserves a Second Chance
Don’t let a single bad experience with a hardware failure make you lose hope. Most of the time, those photos and documents are still there, waiting for the right ‘handshake’ to be seen again. The key is to act with intention and patience. Whether you are a solo photographer or managing a team, having a disaster recovery plan before you need it is the ultimate peace of mind. You’ve got the steps, you’ve got the tools—now go save those files.
Have you ever successfully recovered a file that you thought was gone forever? Let me know in the comments below!