

It was 2 AM, the coffee was stone-cold, and my final project was three paragraphs from the finish line. Then, the screen flickered, went black, and slapped me with those two words: ‘Check Cable.’ I sat there in the dark, staring at a floating box of text that felt like a personal insult. I did what most people do—I shook the laptop, prayed to the silicon gods, and then almost cried. I’ve been in your shoes more times than I care to admit. Whether it’s a flickering display or a total blackout, that little floating box is enough to ruin anyone’s day. But here is the good news: your screen probably isn’t dead. In fact, most of the time, the fix is sitting right under your fingertips. Today, I’m going to guide you through the process of [laptop screen repair and how to fix common issues at home](https://computerrepairmasters.com/laptop-screen-repair-how-to-fix-common-issues-at-home) so you can get back to work without the massive repair bill.
Stop Panic-Buying a New Laptop Just Yet
It is so easy to assume the worst. We live in a world where things break and we just toss them, but I’ve found that the ‘check cable’ error is usually a cry for help from a loose ribbon, not a tombstone for your hardware. Years ago, I actually spent $150 on a brand-new LCD panel for a client’s machine, only to realize later that the internal LVDS cable had simply wiggled out of its socket during a bumpy flight. I felt like a total rookie, and I don’t want you to make that same expensive mistake. Learning [computer repair for beginners to avoid costly mistakes](https://computerrepairmasters.com/computer-repair-for-beginners-avoid-costly-mistakes) starts with the basics: check the physical connections first. Have you ever felt that sinking feeling when your tech just quits on you? Tell me I’m not the only one who has considered tossing a laptop out the window during a deadline.
Is a ‘Check Cable’ error actually worth the stress?
It is definitely annoying, but it is rarely fatal. According to the Repair Association, a staggering percentage of electronic waste is actually caused by minor, fixable issues like loose internal connectors rather than actual component failure. When your laptop says ‘check cable,’ it is literally telling you that the handshake between the motherboard and the display is broken. We just need to restore that connection. Whether you need [laptop screen repair DIY tips for clearer displays](https://computerrepairmasters.com/laptop-screen-repair-diy-tips-for-clearer-displays) or you are just trying to get a picture to show up at all, the logic is the same. We are going to dive into the guts of your machine—safely—and reseat that pesky cable. [image_placeholder]
Cut the Power Before You Touch a Single Screw
When you are troubleshooting common computer repair issues effectively, your first priority is safety—both for you and the machine. I cannot stress this enough: unplug the charger and, if your laptop has a removable battery, pop it out. If the battery is internal, you’ll need to disconnect it from the motherboard once you get the case open. I once ignored this step on a MacBook and watched a tiny blue spark jump from the connector to the board. That split-second shortcut cost me a $400 logic board replacement. Don’t be that guy. Static electricity is another silent killer, so touch a grounded metal object or wear an anti-static wrist strap. Following these computer repair for beginners to avoid costly mistakes ensures you don’t turn a simple cable fix into a total hardware funeral.
Don’t Force the Plastic Bezel
Getting to the cable usually requires removing the plastic frame—the bezel—around your screen. This is where most people panic. It feels like you are breaking the laptop because it makes loud popping sounds as the clips release. Use a plastic pry tool or an old guitar pick; never use a metal screwdriver here or you will chew up the plastic. I remember working on an old HP where the bezel was glued—yes, glued—and I nearly cracked the LCD because I didn’t heat the adhesive first. It’s a classic case of why laptop screen repair DIY tips for clearer displays are so vital; you need to know what’s under the surface. Once the bezel is off, you’ll see the screws holding the LCD panel to the hinges. Remove those carefully, and lean the screen forward onto the keyboard (place a soft cloth down first to avoid scratches).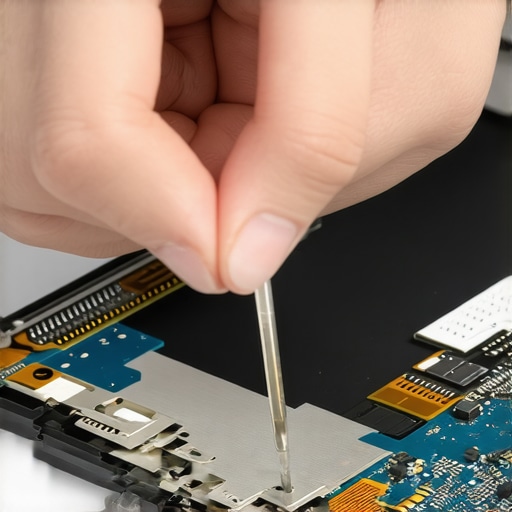
How to Seat the Connection Like a Pro
Now you’ll see it: the LVDS or eDP cable. It is a wide, flat ribbon usually secured with a piece of clear adhesive tape. Peel that tape back gently. Think of the display cable as a very tiny, very fragile Lego brick. You need to align it perfectly before pressing down. If it’s even slightly crooked, you might end up with a screen that turns off when the laptop is on battery or a weird shadow in one corner. Pull the connector out completely, check the gold pins for any dust or corrosion, and then slide it back in until you feel a satisfying ‘click’ or seat. Re-apply the tape, or use a small piece of Kapton tape if the original is no longer sticky. This is the core of a laptop screen replacement step-by-step repair guide, even if you aren’t actually replacing the panel itself.
Fire It Up Before Screwing It All Back Down
There is nothing worse than putting every single screw back in, snapping the bezel shut, and then realizing the screen is still black. Before you reassemble, connect the battery and the AC adapter. Carefully turn the laptop on while the screen is still leaning against the keyboard. If you see the BIOS logo or the Windows loading spinner, you’ve won. If you see flickering, you might need tips for troubleshooting laptop screen problems seamlessly to check if the other end of the cable (the one on the motherboard) is also loose. Most of the time, that single reseat on the back of the LCD is the magic fix.
Once you have the cable seated and the screen flickers back to life, you might feel like a tech wizard. But this is exactly where the ‘pro’ mistakes happen. Most people think that once they see a picture, the job is done. In my experience, the reassembly phase is actually more dangerous than the teardown. Let’s dig deeper into the nuances that separate a successful long-term fix from a temporary patch that ends in a dead motherboard.
The tiny screw that ruins everything
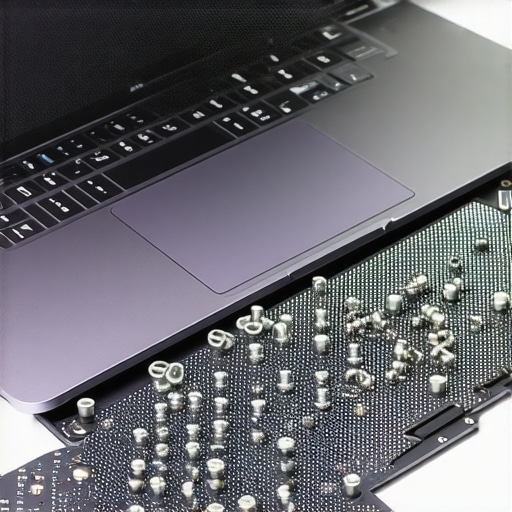
There is a specific phenomenon we call ‘Long Screw Damage’ or LSD. It sounds like a bad joke, but I have seen it kill thousands of dollars’ worth of hardware. When you are putting the LCD panel back into the frame, you will have a handful of screws. They often look identical, but one might be 0.5mm longer than the rest. If you put that slightly longer screw into a hole meant for a shorter one, it can punch right through the plastic and into the motherboard or the screen’s logic board. Always organize your screws in a grid pattern on a magnetic mat. This is a vital part of computer repair for beginners to avoid costly mistakes because one wrong turn of the wrist can turn a $50 cable fix into a total loss.
Is it a backlight failure or just a blown motherboard fuse?
Everyone says that if the screen is black, the LCD is dead. I disagree. Here is a contrarian trick: take a bright flashlight and hold it right up against the dark glass while the laptop is on. If you can see the faint outlines of your desktop icons, your LCD is actually working perfectly—it’s just the backlight that is out. While most assume they need to buy a new panel, the real culprit is often a tiny SMD fuse on the motherboard that blew when you forgot to disconnect the battery. Learning how to tell if your laptop screen backlight is actually failing can save you from ordering parts you don’t need. A study published by the IEEE on hardware reliability suggests that board-level interconnect failures are often misdiagnosed as component deaths, leading to unnecessary and expensive part swaps. Have you ever fallen into this trap? Let me know in the comments.
Stop assuming a broken screen equals lost data
I’ve had clients walk into my shop ready to mourn their lost wedding photos just because their screen took a dive. It is a common myth that a shattered display means your files are in danger. Unless you dropped the laptop from a height that also shattered the internal drive, your data is safe. You can simply plug into an external monitor or use the power of data recovery tools what you need to know to pull those files onto a thumb drive. If you are a business owner, this is why managed IT is so crucial; you should never be in a position where a physical drop puts your company’s data at risk. Understanding the hidden risks of letting employees use their own laptops for work includes realizing that amateur repairs on personal devices can lead to massive security gaps. If you notice a weird shadow in the corner after your repair, you likely have a localized pressure point from a misaligned hinge or a cable that isn’t tucked in correctly. Take it slow, double-check your screw lengths, and always test the backlight before you snap that final bezel shut.
Upgrade your toolkit before you strip another screw
You cannot perform a surgical-grade repair with a butter knife or a $2 screwdriver set from a gas station. If you want to avoid stripping screws—which is a nightmare that usually involves a tiny drill bit and a lot of swearing—invest in a precision bit driver. I personally swear by the iFixit Pro Tech Toolkit because the bits are hardened steel, not the soft pot metal found in cheap knockoffs. According to technical documentation from the repair experts at iFixit, using the wrong bit size is the leading cause of internal chassis damage during DIY attempts. Beyond just having the right bits, you need a high-quality nylon spudger. Using metal to pry open a plastic casing will leave scars on your laptop that you will regret every time you look at it. Following computer repair for beginners to avoid costly mistakes means respecting the materials of your machine.
How do I keep my screen crisp for years?
The secret isn’t just about how you fix it, but how you treat it daily. Most people don’t realize that their hinges are slowly strangling their display cables. Every time you open the laptop from one corner instead of the center, you apply uneven torque. Over time, this loosens the screws we just talked about or, worse, snaps the plastic mounts. You should learn how to tell if your laptop hinges are about to snap the frame before it happens. I recommend a tiny drop of low-viscosity machine oil on the hinge pivot points once a year. It sounds like overkill, but it keeps the movement smooth and prevents the dreaded ‘creak of death.’ While you have the case open, take the time for a deep clean. Knowing how to clean a laptop fan without pushing dust deeper inside will lower your internal temperatures, which prevents the heat-related expansion that often loosens internal screen connectors in the first place.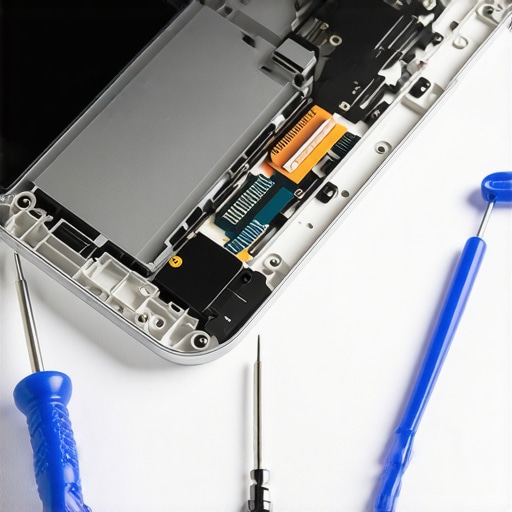
Scaling up to professional hardware oversight
If you are running a business, you shouldn’t be the one spending your Sunday nights with a spudger and a flashlight. This is where managed IT strategies to keep your business secure in 2025 come into play. There is a massive difference between fixing a broken screen and ensuring your entire fleet of laptops is healthy and secure. Transitioning to professional oversight is how you scale. You can see how managed IT can elevate your business security in 2025 by offloading the hardware headaches to experts who have the inventory and tools to swap parts in hours, not days. I predict that as laptops become more modular—thanks to the growing ‘Right to Repair’ movement—we will see even more businesses opting for hybrid maintenance models. For now, my challenge to you is this: take five minutes today to check your screen hinges for any play or wobbling. If they feel loose, tighten those internal screws now before they snap a cable. It is the single easiest way to prevent a future ‘Check Cable’ disaster.
The Hard Truth About Ghosting and Glitches I Learned the Hard Way
After years of opening up displays, I have realized that the screen is often the messenger, not the problem. One major ‘lightbulb moment’ was discovering that static buildup can mimic a dead panel; sometimes, simply performing a hard power reset clears a ‘ghost’ image that no amount of cable-tugging can fix. Another lesson? Heat is a silent saboteur. If your screen flickers only after an hour of use, it is likely thermal expansion in the connector, a sign you need to rethink your cooling. Finally, never underestimate the lid sensor. I once spent hours on a laptop screen repair only to find a tiny magnet from a laptop sleeve was tricking the machine into thinking it was closed. Always check your surroundings before you tear into the hardware.
Gear That Saved My Sanity More Than Once
If you are serious about DIY, you need more than just a screwdriver. I personally rely on HWiNFO64, a free tool that identifies your exact LCD part number without you having to open the case—this is a lifesaver when you are trying to source a perfect match. I also keep a roll of Kapton tape handy; it is heat-resistant and non-conductive, making it the only thing I trust to secure a loose LVDS cable. For those looking to understand the bigger picture of tech longevity, I highly recommend following the Restart Project. They provide incredible insights into why we should repair rather than replace, which aligns perfectly with why why managed IT is a game changer for growing companies looking to maximize their hardware lifecycle.
Your Hardware Deserves a Second Chance
There is a profound sense of accomplishment that comes from seeing a dead screen flicker back to life because of your own two hands. You don’t have to be a certified engineer to perform a successful laptop screen repair; you just need patience and the right set of instructions. By taking these steps, you are not just saving money—you are keeping usable tech out of a landfill and proving that you are the master of your own devices. If you have followed along, you now have the tools to handle everything from a loose ribbon to how to tell if your laptop screen backlight is actually failing. Don’t be afraid to dive in; the worst-case scenario is already a broken screen, so you have nothing to lose and a perfectly crisp display to gain. Did that ‘crackling’ sound when you popped the bezel open make your heart stop for a second, or was it just me? Let me know your scariest repair moment in the comments below.