

I’ll never forget the sinking feeling in my stomach when my external drive suddenly decided it didn’t know who it was anymore. I plugged it in, expecting to finish a project, but Windows just stared back at me with a prompt saying the drive needed to be formatted before use. I nearly hit ‘Yes’ just to make the error go away. That was years ago, and since then, I’ve learned that a corrupted file system isn’t a death sentence for your photos and documents. Most people assume the hardware is dead, but usually, it’s just the ‘table of contents’ that’s torn. Today, I’m going to walk you through the exact method I use to sidestep those errors and pull your files to safety before the situation gets worse. Whether you’re a student with a thesis on the line or a business owner needing data recovery secrets every business should know today, the panic is the same. We are going to fix it.
Your Computer is Lying About Your Empty Drive
It happens in a heartbeat. One day you’re fine; the next, you’re dealing with cyclic redundancy check errors or a drive that shows up as ‘RAW’ in Disk Management. In my early days, I made the amateur mistake of running aggressive repair commands like ‘CHKDSK’ on a drive that was physically failing. I thought I was being helpful, but I ended up overwriting the very file headers I needed to save. It was a classic rookie move that I still cringe about today. When you’re looking for expert techniques to save your files fast, the first rule is to do no more harm. According to research published by the IEEE, logical file system errors account for a massive chunk of data loss incidents, often triggered by something as simple as a power surge or an unsafe ejection. If you’ve ever seen that ‘format now’ window, you know the stress. Have you ever been tempted to just click ‘Format’ and hope for the best? Don’t do it! Formatting creates a new, empty file system, making the previous data much harder to retrieve. We can often recover files from a drive that asks to be formatted by using a ‘read-only’ approach that ignores the corrupted file system entirely and focuses on the raw bits beneath.
Is this DIY recovery actually worth the risk?
You might be worried that messing with the drive yourself will only make things worse. That’s a valid fear and one I hear from my neighbors all the time. If the drive is making a clicking sound or smells like burnt electronics, stop immediately—that’s a hardware failure. But if it’s just a software glitch—a corrupted Master File Table or a blown partition header—you have a very high chance of success from your own desk. This is a core part of computer repair for beginners: knowing when to use a scalpel instead of a sledgehammer. By using tools that don’t rely on the operating system’s standard mounting process, we can bypass the Windows file system drivers that are throwing those errors and talk directly to the data blocks. This trick is what separates a frustrated user from a hero who gets their data back without a massive bill. I’ve spent years working with managed IT solutions, and the one thing I tell every client is that data is only truly gone when the platters stop spinning or the flash chips burn out. Everything else is just a puzzle waiting for the right tool. If you’re currently staring at a drive that won’t open, take a deep breath. You aren’t alone, and you haven’t necessarily lost everything yet.
Stop Letting Windows Dictate the Rules
The moment you plug in a drive and see that error message, your operating system is trying to be helpful by ‘mounting’ the file system. Think of it like a librarian trying to read a charred index book; if they keep flipping the brittle pages, they will eventually turn them to dust. This is why troubleshooting common computer repair issues effectively starts with isolation. I use a bootable environment—usually a Linux-based tool—that does not care about the ‘Drive G: is not accessible’ warning. By staying outside of Windows, you prevent the OS from writing background ‘metadata’ to the drive, which is the fastest way to kill your chances of success.
The Clone First Strategy That Saves Professional Sanity
I learned this lesson the hard way with a local photographer’s SSD. The drive was failing, and Windows kept freezing every time we tried to open a folder. Instead of browsing the files, I immediately created a bit-by-bit ‘image’ of the entire drive. It is like taking a high-resolution photo of every page of that charred book so you can study the photo later without touching the original. The power of data recovery tools what you need to know lies in their ability to read these ‘image’ files. Halfway through my clone, the photographer’s SSD controller chip literally fried itself from the heat. If I had been trying to copy-paste files manually, I would have had nothing. Because I had that partial image, I salvaged the wedding ceremony shots. It was not perfect, but it was a miracle compared to a total loss. 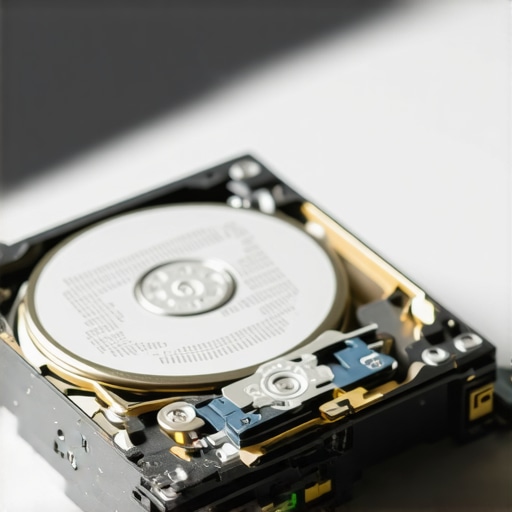
Searching for Scraps When the Index is Gone
Once you have a safe clone of your drive, you can start ‘carving.’ This is a technical term for looking for file headers—specific patterns of bits that say ‘I am a JPEG’ or ‘I am a PDF’—without needing the file system’s permission. In an ultimate guide to data recovery after accidental deletion, we talk about how files are not actually gone; they just lose their ‘address.’ Carving ignores the broken address book and looks for the data blocks standing in the rooms. This is especially critical if you are worried about how to tell if your ssd is wearing out from too many writes, as flash memory behaves differently than old-school spinning platters.
Keep Your Recovery Destination on a Separate Drive
Never recover files back onto the same disk you are saving them from. This is the golden rule of computer repair for beginners avoid costly mistakes. If you write new data to the bad drive, you are essentially recording a new song over your favorite old cassette tape. Once that data is overwritten, it is gone for good, even for the pros. If you notice the risk of ignoring a clicking external drive is that the physical damage expands with every second of power. If the software methods do not see the drive at all, or if the ‘raw’ size shows up as zero bytes, you have moved past a software fix and into the realm of hardware surgery.I’ve seen too many people lose sleep because they trusted the wrong safety net. One of the most common myths I encounter is the belief that cloud synchronization is a replacement for a backup. If you accidentally delete a critical spreadsheet or a virus encrypts your files, your cloud service will faithfully ‘sync’ that destruction across every device you own. This is why the move that stops your business data from leaking through dropbox isn’t just about security; it’s about understanding that sync is a mirror, not a time machine. For real protection, you need versioned, off-site storage. I often tell my clients that the truth about unlimited backup plans for small businesses is often found in the fine print—many do not cover the specific server types or database files you actually need to survive a disaster.
Why Your Unpowered SSD Might Be Losing Data Right Now
While we are on the subject of hardware longevity, let’s talk about the SSD ‘cold storage’ trap. Most people think that because an SSD has no moving parts, it’s the perfect place to store photos and leave them in a desk drawer for a decade. This is dangerously wrong. Unlike a magnetic hard drive, an SSD stores data as an electrical charge within NAND flash cells. Over time, that charge can leak. According to the JEDEC JESD218 standard, a consumer-grade SSD is only required to maintain data integrity for about one year at 30°C if it’s left without power. If you’ve tucked an old drive away, you might find ‘bit rot’ has set in when you finally try to plug it back in. Knowing how to tell if your ssd is wearing out from too many writes is important for active drives, but for the ones sitting in your drawer, the enemy is simply time and heat. #IMAGE_PLACE_HOLDER_C#
Does Your Drive Suffer from Data Retention Fatigue?
When we get into high-level managed IT strategies to keep your business secure in 2025, we have to account for these physical nuances. Advanced recovery isn’t just about software; it’s about understanding thermodynamics and electron leakage. If you have a drive that is starting to show signs of instability, such as a slow read speed on certain files, it might be the drive’s internal controller struggling to correct those leaking bits. This is often misdiagnosed as a software memory leak. In reality, how to identify a memory leak that is slowing down your workstation is a completely different process than identifying failing hardware, but to the end user, the sluggishness feels identical.
The Automated Repair Trap You Must Avoid
The biggest ‘oops’ factor I see comes from Windows itself. When a drive has a slight logical error, Windows will offer to ‘Scan and Repair’ or run ‘Startup Repair.’ In my experience, these automated tools are like a bull in a china shop. They are designed to get the operating system booting at any cost, which often means discarding ‘unreadable’ data fragments that a professional could have recovered. If you see the truth about the system fix pop-up on your desktop, realize that it might be an invitation to overwrite the very evidence we need. Always clone the drive before you let any automated utility touch the file structure. Have you ever fallen into this trap and let a repair utility make things worse? Let me know in the comments.I’ve seen those automated tools turn a simple fix into a data-shredding nightmare more times than I care to count. When a client brings me a drive that’s been through the Windows ‘chkdsk’ wringer, my first move isn’t to open a standard explorer window—it’s to reach for my hardware write-blocker. If you really want to understand the power of data recovery tools what you need to know, you have to realize that professionals don’t just use software; we use physical bridges that prevent the computer from writing even a single bit of metadata back to the source drive. For software, I swear by R-Studio for complex file system reconstruction and TestDisk for those terrifying moments when a partition table just vanishes into thin air. These aren’t just one-click wonders; they require a surgeon’s touch and an understanding of hex values, but they are the only things I trust when the stakes are high.
The Pro Kit I Use When Things Get Ugly
In my mobile repair bag, I keep a dedicated bootable USB loaded with a custom Linux kernel designed for data extraction. This setup bypasses the firmware-level glitches that often make tips for troubleshooting laptop screen problems seamlessly feel like child’s play compared to drive surgery. If I’m dealing with a laptop that won’t post, I’m often checking more than just the screen; I’m looking at the power rails on the motherboard. But when it’s data, the goal is always the same: get the bits off as fast as possible. This is why data recovery secrets expert techniques to save your files fast always prioritize speed and stability over perfection in the first pass. 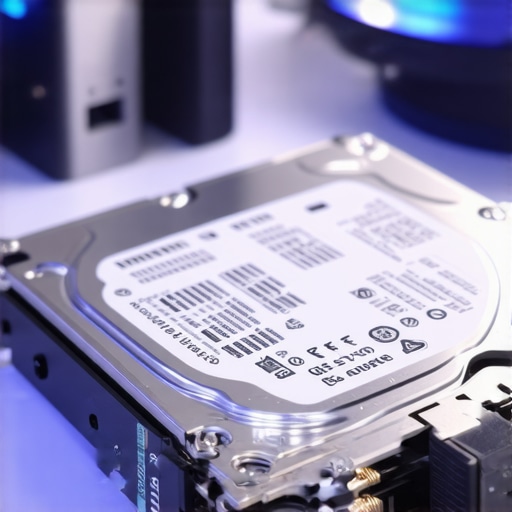
How can you actually prevent a drive from dying?
Maintaining your hardware isn’t about luck; it’s about telemetry. I rely heavily on the Backblaze Drive Stats report, which is the gold standard for real-world reliability data. Their annual findings consistently show that while most drives survive the three-year mark, the failure rate spikes significantly after year four. To stay ahead of this, I use SMART monitoring tools to keep an eye on ‘Reallocated Sectors Count’ and ‘Current Pending Sectors.’ If those numbers move from zero, even by one, that drive is officially on probation. For businesses, this proactive stance is a core part of effective managed it solutions for growing companies. We don’t wait for the click; we replace the drive when the data tells us it’s tired. This same logic applies to your display hardware, where laptop screen repair diy tips for clearer displays often start with checking ribbon cables before they fray completely.
The Future of Recovery Is Smarter Than We Think
Looking ahead, I predict we are moving away from traditional file carving and toward AI-driven ‘predictive reconstruction.’ Within the next few years, how managed it can elevate your business security in 2025 will involve algorithms that can rebuild corrupted JPEGs by ‘guessing’ the missing pixels based on the surrounding data patterns. It sounds like science fiction, but it’s the natural evolution of the carving techniques we use today. However, no amount of AI can save a drive that has been physically pulverized, which is why your business needs a documented disaster recovery plan today. I want you to try this one advanced tip tonight: download a portable copy of CrystalDiskInfo and look at your main drive’s health status. If you see anything other than a solid blue ‘Good’ icon, stop what you’re doing and clone that drive immediately. Don’t wait for the ‘Format Now’ pop-up to be your wake-up call.
Three Hard Truths I Learned While Rescuing Dead Drives
In my decade of experience, I’ve realized that panic is the number one killer of data. Most people act too fast and inadvertently overwrite the very headers they need to save their files. First, remember that if a drive makes a mechanical noise, no software in the world will save it; you need professional hardware intervention. Second, don’t trust Windows when it offers to ‘Scan and Fix’—it’s often just tidying up by deleting ‘messy’ data fragments that could have been recovered. Third, every minute a failing drive is powered on, the risk of a total head crash increases. This is why computer repair for beginners avoid costly mistakes often starts with knowing when to hit the power button. If you suspect failure, the best way of troubleshooting common computer repair issues effectively is to clone the drive immediately rather than working on the original.
The Essential Toolkit I Carry to Every Emergency
I never leave my office without a specific set of tools that have saved me hundreds of times. R-Studio is my heavy lifter for file system reconstruction when the directory structure looks like a scrambled mess. For partition loss, TestDisk is an open-source miracle that can find lost volumes in seconds. I also recommend keeping CrystalDiskInfo running to catch failures before they escalate. For local firms, incorporating these tools into effective managed it solutions for growing companies ensures that we aren’t just reacting to disasters but preventing them before they happen. These tools aren’t just for pros; they are the baseline for anyone serious about keeping their digital life intact.
The Future of Your Files Starts with One Small Step
Losing critical data feels like losing a piece of your personal history, but with a patient approach, it doesn’t have to be a permanent loss. Take a deep breath and remember that as long as the platters aren’t physically shattered or the NAND flash isn’t fried, there is always a path to success. Mastering data recovery is a journey of precision and calm. Don’t be afraid to step back and seek a second opinion if a drive looks too far gone for a DIY fix. Have you ever accidentally hit ‘Format’ on a drive that still had files you actually needed? Let me know your recovery story in the comments below!