

I’ll never forget the sound of that sizzle. I was sitting at my kitchen table, finishing up a client project, when my coffee mug decided to wage war on my keyboard. A tiny splash, a quick spark, and then… nothing. Total silence. The screen went black, and no matter how many times I mashed the power button, my laptop was a very expensive paperweight. My heart sank because I hadn’t backed up those files in weeks. I thought I’d lost everything. But here’s the thing I learned the hard way: your motherboard might be dead, but your data is likely just sitting there, waiting for a rescue mission. [IMAGE_PLACEHOLDER]
Your Data Lives Even When the Motherboard Dies
Most people assume that if the brain of the computer stops beating, the memories go with it. That’s a common misconception. Unless your hard drive was the victim of a physical hammer blow or a massive electrical surge that fried every single component, those photos and documents are still tucked away on the storage drive. I once made the mistake of thinking I needed a specialized clean-room lab for a simple board failure, spending way more than I should have. The truth is, for most of us, there is a much simpler path to getting those files back. This isn’t just about technical jargon; it’s about knowing that preventing a small coffee spill from killing your entire laptop is a great first step, but when that fails, we have to pivot.
Can I actually pull files from a board that smells like burnt toast?
It’s a valid fear, but in about 90% of cases, the answer is a resounding yes. Think of your laptop like a car that had its engine explode; the luggage in the trunk is still perfectly fine. You just need to know how to open the trunk without the keys. According to a study by Backblaze, drive failure is a separate beast from system failure, and storage media is surprisingly resilient to the logic board issues that plague modern ultrabooks. We’re going to walk through the exact steps to bypass that dead board and get your life back on track. Before we dive into the screwdrivers and adapters, have you ever stared at a black screen and felt that “pit in your stomach” moment of total data loss? It’s okay to admit it—I’ve been there. If you’re already in the “it won’t turn on” club, we need to identify if the motherboard is truly the culprit. If it is, you might need to use expert techniques to save your files fast. Even if your drive looks weird in another machine, don’t panic if it shows up as an unallocated space; there are ways around that too. Let’s get those files back into your hands.
Get That Drive Out of the Dead Shell
First, we have to perform a little bit of hardware surgery. Since the motherboard isn’t providing a path for the data to travel, we need to remove the storage medium entirely. Whether you have a spinning hard disk or a modern NVMe SSD, the process starts with opening the chassis. I remember a specific case where a client brought in an old Dell that had been through a literal flood; the casing was warped and the motherboard was a corroded mess of green gunk. I had to pry the bottom plate off with more force than I usually like to admit, but once I unscrewed that M.2 drive, it looked pristine. It’s like finding a diamond in a coal mine. If you are nervous about opening your device, following a laptop screen replacement step-by-step repair guide can actually give you a good feel for how internal components are tucked away, even if you aren’t fixing the screen itself.
Identify Your Drive Type Before You Buy Gear
You can’t just shove any drive into any port. You need to know if you are looking at a 2.5-inch SATA drive (looks like a small brick) or an M.2 NVMe stick (looks like a stick of gum). This is where many people make computer repair for beginners errors by ordering the wrong enclosure. If you have an older machine, you might even be looking at how to pull data from an old desktop that hasnt been turned on in years, which might require a legacy IDE adapter. 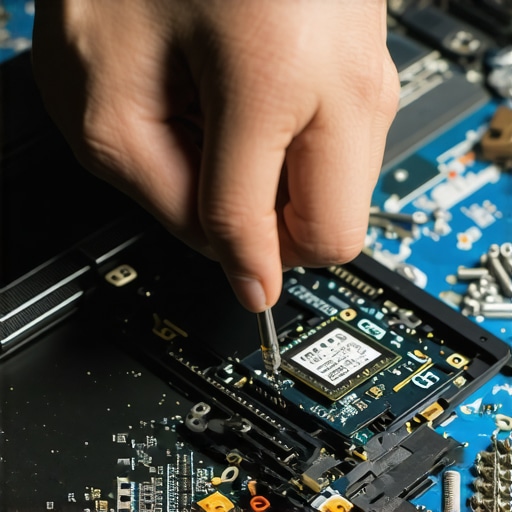
Connect the Drive Without Buying a Whole New PC
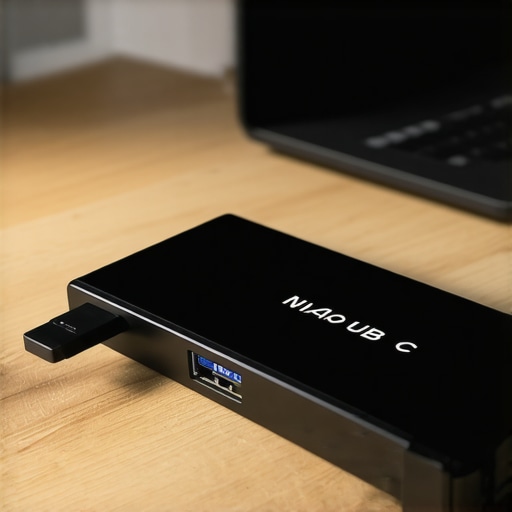
Once the drive is out, you need a bridge to a working computer. I always recommend using a USB-to-SATA adapter or an NVMe-to-USB enclosure. These are relatively cheap, but don’t go for the absolute bottom-of-the-barrel options. I once used a five-dollar adapter that was so poorly shielded it caused a short that almost took out my backup laptop too. There is a specific hardware part you should never buy used for your business, and high-quality data bridges are on that list.
Stabilize the Connection for Large Transfers
When you plug your old drive into a new PC, it should pop up like a thumb drive. However, if the drive is old or slightly damaged, it might drop the connection halfway through. If your external hard drive keeps disconnecting during file transfers, it’s often a power delivery issue from the USB port. Try using a powered USB hub or a port directly on the motherboard of the host PC.
Bypass Those Pesky Admin Lockouts
Even when the drive is healthy, Windows or macOS might tell you that you “don’t have permission” to access the User folders. This isn’t a hardware failure; it’s just security doing its job too well. You’ll need to “Take Ownership” of the folders through the security settings in the properties menu. Understanding the power of data recovery tools can be a lifesaver here if the standard file explorer won’t let you in. If the motherboard failure was due to liquid, you might even need to learn how to recover critical documents from a water damaged desktop tower if the drive itself has some surface residue. Be patient, move files in small batches, and you’ll have your digital life back before you know it.
Stop Reaching for the Download Button
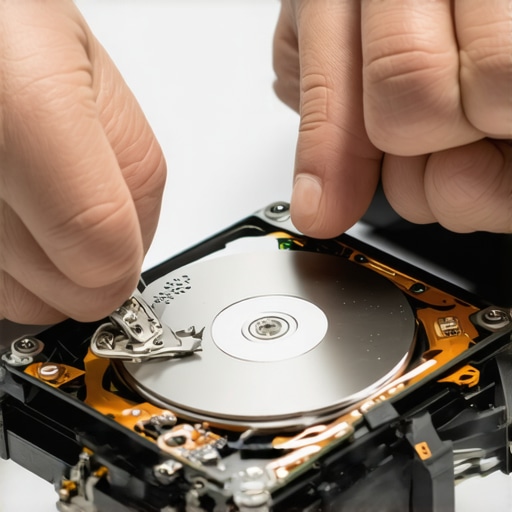
There’s a massive misconception that data recovery is primarily a software problem. When a laptop dies, the first instinct for many is to scour the web for “best recovery software.” But here’s the contrarian truth: if your motherboard failed due to a power surge, your drive might be in a fragile state where running intensive software scans actually kills it for good. I’ve seen enthusiasts fall into the danger of using free file recovery tools on a failing mechanical drive, only to watch the drive head crash permanently because the software kept trying to read a bad sector. Professional labs often see drives that were 90% recoverable until the owner tried a DIY “deep scan” that pushed the hardware over the edge.
According to a report by Ontrack, a global leader in data recovery, nearly 25% of data loss cases are exacerbated by improper recovery attempts by the user. If you hear a click, a grind, or even a faint whistle, stop everything. Your motherboard might be dead, but your drive is currently on life support. You need to treat it with the same care as a surgical patient. This level of nuance is exactly why expert techniques to save your files fast involve hardware stabilization before any software ever touches the platters.
The Encryption Trap You Didn’t See Coming
One “oops” factor that catches even the most tech-savvy people off guard is BitLocker or FileVault. If your motherboard is dead and you pull the drive, modern security means that drive is likely encrypted. Without the recovery key—which is often tied to your Microsoft or Apple account—that hardware is essentially a brick. I’ve had clients who successfully pulled their data but couldn’t read a single byte because they didn’t have their keys. This is one of those data recovery secrets every business should know today: your hardware removal is only half the battle. If you’re managing a fleet, why your business needs a disaster recovery plan before the storm hits becomes painfully obvious when you’re staring at an “Enter Recovery Key” prompt you don’t have.
What happens if the drive shows up as RAW?
When you plug your drive into another machine and it asks to “Format this disk before use,” DO NOT CLICK YES. This usually happens when the partition table is corrupted or the OS can’t recognize the file system due to the sudden power loss of the original board. You need to know how to pull data from a drive that shows up as an unallocated space or RAW without overwriting the headers. This is where the power of data recovery tools actually comes into play—but only once you’ve confirmed the physical health of the drive. Before you even get to this point, you should have been checking how to check if your hard drive is about to fail using s-m-a-r-t-data. If you ignored the risk of ignoring that smart status bad warning on your pc, the motherboard failure might have just been the final shove for a drive that was already dying. Have you ever fallen into this trap or lost a recovery key at the worst possible moment? Let me know in the comments. We’ve all been there, and sharing those “oh no” moments is how we all get better at protecting our digital lives.
Once you’ve successfully bridged the hardware gap, the software you choose determines whether you get your files back or just a pile of corrupted metadata. I’ve spent years testing everything from open-source scripts to four-figure forensic suites, and I always keep a copy of R-Studio (the recovery software, not the IDE) on a bootable drive. Unlike the flashy, consumer-grade apps that promise a one-click miracle, R-Studio allows you to manually define parameters if the file system is partially overwritten. It’s the difference between a locksmith and someone with a sledgehammer. Using the power of data recovery tools properly means understanding that you are often fighting the operating system’s urge to ‘fix’ things that aren’t actually broken. According to the official technical documentation for TestDisk by developer Christophe Grenier, the utility is designed to recover lost partitions by looking specifically at the BIOS or EFI structures, which is a level of depth that most retail software simply ignores. This is why I tell people to avoid the ‘easy’ route; precision beats speed every single time.
Scale Your Defense Before the Next Crash
If you are running a small team, you can’t be the person unscrewing laptops every time a coffee spill happens. This is where effective managed IT solutions for growing companies move from being a luxury to a necessity. I’ve seen businesses lose weeks of productivity because they treated data recovery as a reactive task rather than a proactive infrastructure goal. When you transition to managed IT solutions streamlining operations for small businesses, you start looking at ‘Image-based’ backups. This means instead of just saving your Word docs, you are saving a snapshot of the entire system state. If a motherboard dies, you don’t even need the original drive; you just spin up that image on a new machine. It’s about managed IT strategies to keep your business secure in 2025 where the hardware is secondary to the virtual environment. If you’re still relying on a single employee to remember to plug in a thumb drive, you are essentially waiting for a disaster to happen.
How do I maintain my data integrity over the long haul?
Maintenance isn’t just about cleaning dust out of fans, though the move that keeps your server running when a cooling fan dies is a great habit to form. Long-term integrity is about ‘Data Scrubbing.’ This is a process where your storage system (usually a NAS or a server) periodically reads all the data to ensure no bits have ‘flipped’ due to cosmic rays or magnetic degradation. For those who aren’t ready for a server, how to check if your hard drive is about to fail using s-m-a-r-t-data is your best manual defense. I personally set a calendar reminder every quarter to run a long-read test on my primary drives. It takes five minutes to start and can save you five days of headache later. We are heading toward a future where user-serviceable parts are disappearing—look at how to upgrade the SSD in a laptop that has a soldered primary drive and you’ll see the challenge. As storage becomes permanently fused to the motherboard, the DIY recovery era might be ending, making why your business needs a local backup even if you use the cloud more relevant than ever.
My advanced tip for you today: Download a portable version of CrystalDiskInfo and check your ‘Reallocated Sectors Count.’ If it’s anything other than zero, stop reading and back up that drive right now. Don’t wait for the ‘S.M.A.R.T. Status Bad’ warning to pop up; by then, the drive is already on its deathbed. If you find yourself over your head, the reason your managed IT provider needs a disaster recovery plan for you is to handle these exact ‘what-if’ scenarios before they become ‘now-what’ crises. Take ten minutes today to verify where your recovery keys are stored—it’s the single most important thing you can do for your future self.
What Every Pro Knows About Rescuing Data from Fried Boards
Before you dive back into the guts of your machine, there are a few nuances that separate the lucky recoveries from the permanent losses. First, never underestimate the damage of static electricity; always ground yourself before touching that exposed drive. I’ve seen more files lost to a carpet-induced spark than to the actual spilled coffee. Second, if you are handling a mechanical drive that was dropped, orientation matters. Sometimes, laying it on its side or even upside down can help a failing motor catch just enough to finish one last copy. Finally, remember that your time has value. If you’ve spent three days and still haven’t seen a file list, it might be time to use expert techniques to save your files fast by calling in the pros. Knowing when to stop is just as important as knowing how to start.
Gear That Actually Works When the Screen Stays Black
You don’t need a lab, but you do need the right tools to avoid computer repair for beginners blunders. I personally never travel without an iFixit Pro Tech Toolkit; those tiny plastic spudgers are the only way to open modern thin-and-light laptops without snapping the delicate internal clips. For the actual data bridge, a StarTech SATA-to-USB adapter is my gold standard because it handles power fluctuations better than the generic versions. If you are struggling with a software-level lock, Hiren’s BootCD PE is an incredible resource for troubleshooting common computer repair issues effectively without needing to boot into your corrupted Windows environment. I trust these tools because they have saved my skin in hundreds of client emergencies.
Turn This Panic into a Better Backup Strategy
The pit in your stomach feeling you have right now is the best teacher you will ever have. Once you get these files back—and you likely will—use this momentum to build a system that never fails you again. Whether you are managing your personal photos or investigating how managed IT can elevate your business security in 2025, the goal is redundancy. The 3-2-1 rule is non-negotiable: three copies of your data, on two different media types, with one copy off-site. Data recovery is a stressful process, but with a solid backup plan, it becomes a 30-second download. If you are still feeling stuck with a drive that will not mount, do not hesitate to contact us for a consultation. You have got this—one screwdriver turn at a time. Have you ever successfully pulled files from a machine you thought was gone forever? Let me know your biggest win in the comments below!