

I was sitting in a dimly lit coffee shop, ready to knock out a few emails, when I saw it: a bright, ghostly white patch right in the middle of my display. At first, I scrubbed at it with my sleeve, hoping it was just a bit of dried latte. It wasn’t. It was a pressure mark, often called ‘Mura,’ and it felt like my screen was slowly dying. I’d made the classic mistake of shoving my laptop into a bag alongside my heavy charger, and that localized weight had literally bruised the pixels.
That Glowing Spot Isn’t Just Your Imagination
If you’re seeing a strange pressure mark in the center of your screen, you’re not alone. It usually happens when the layers of your LCD or LED panel get squeezed too tightly. This displacement of liquid crystals or damage to the light diffuser sheets creates those uneven bright spots that look like clouds. Early in my tech journey, I actually tried ‘massaging’ the spot out because I read a forum post that said it worked. Spoiler alert: I made it ten times worse and ended up with white spots in the background that never went away. Don’t do that. Today, I’m going to show you exactly how to diagnose the severity of the damage and, more importantly, how to stop it from spreading across your entire panel.
Is This Damage Actually Worth Fixing Yourself?
It’s a fair question to ask before you start unscrewing things. Screen panels are incredibly delicate. In fact, industry data from organizations like DisplayMate Technologies suggests that modern ultra-thin displays are significantly more prone to structural deformation than the bulky monitors of a decade ago. You might be worried that any DIY attempt will just lead to more laptop screen problems. While some marks are permanent, many can be managed or at least halted if you change your hardware habits immediately. We will look at whether you need a full laptop screen replacement or if a few simple adjustments can save your display. Have you ever opened your laptop only to find a new white spot staring back at you? (Send me a message—I promise I’ve seen worse!) Before you panic and buy a new machine, let’s talk about why this happens and what you can do right now to relieve the stress on your panel. If you are new to the world of hardware, you might want to read our computer repair for beginners guide first to build your confidence.
Think of your laptop screen like a multilayered sandwich. When you apply pressure to the lid, you aren’t just pressing on glass; you are squeezing the polarizer, the liquid crystal layer, and the backlight reflectors into one another. If that pressure stays too long, the layers don’t ‘spring back’ perfectly, leading to that glowing white ghosting you see. I remember a client, Sarah, who brought in a high-end ultrabook with a glowing white circle near the bottom. She was convinced she needed a new panel. I realized the back of the lid was slightly dented from a heavy water bottle in her bag. Instead of jumping to a replacement, we used a specialized suction tool to gently pull the aluminum lid back a fraction of a millimeter. The spot didn’t vanish entirely, but it became 80% less noticeable because we removed the physical stressor.
Stop the Squeeze Before the Damage Becomes Permanent
The first rule of screen survival is to identify exactly what is pushing against the panel. Often, the culprit isn’t external. If you notice your keyboard keys are leaving permanent oily marks or ‘bruises’ on the glass, your laptop chassis might be flexing more than it should. You should start with tips for troubleshooting laptop screen problems seamlessly to rule out software-induced ghosting, but 99% of the time, this is a hardware geometry issue.
Check if a Swelling Battery is Pushing From Below
This is a critical safety step. Sometimes the pressure isn’t coming from your bag—it’s coming from inside the house. Lithium-ion batteries can expand as they age, pushing the keyboard tray upward into the back of the screen when the laptop is closed. It’s vital to learn how to tell if your laptop battery is swelling before it breaks the case. If you see a slight bulge in your trackpad or keyboard, that pressure mark is a warning sign of a potential fire hazard, not just a display glitch. In this scenario, no amount of screen cleaning will help until that battery is safely extracted.
Relax the Bezel Screws to Release Internal Tension
If your battery is flat and your bag is empty, the tension might be coming from the factory assembly. I’ve seen cases where the plastic bezel or the metal frame holding the LCD is screwed in just a quarter-turn too tight. This creates ‘pinch points’ at the edges or corners. For those brave enough to try a bit of laptop screen repair at home, sometimes simply loosening the screws behind the hinge covers or the bezel can allow the display layers to breathe and realign. It’s like loosening a belt after a big meal; once the tension is gone, the ‘bloating’ (or in this case, the bright spot) can subside over a few days.
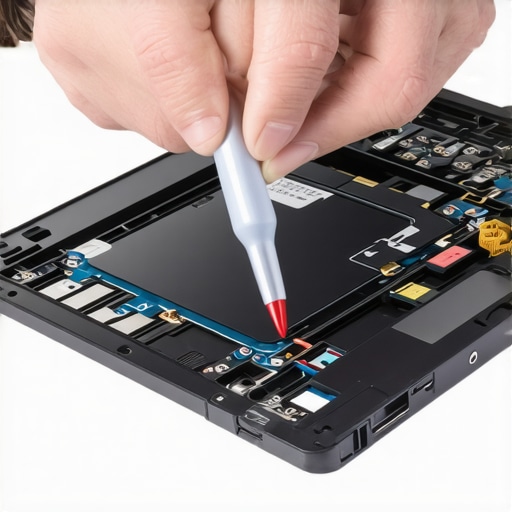
Build a Buffer Between Your Screen and Keyboard
To stop a small mark from turning into a giant black ink blot caused by a total structural failure, you need a buffer. I now use a micro-fiber screen protector sheet—a very thin cloth that sits on the keyboard when the lid is closed. This distributes any external pressure across the entire surface area rather than letting a single keycap grind into the pixels. If you are looking for more laptop screen repair DIY tips, remember that prevention is the only 100% effective cure for Mura. Once the light diffuser sheet inside the screen is permanently creased, you’re looking at a much more expensive fix.
It is a common misconception that every white spot or flicker requires an expensive trip to the shop. In my experience, most users mistake a failing internal connection for a broken panel. If you see your display glitch when you move the lid, it is likely the cable, not the glass itself. I always tell my clients to check how to fix a flickering screen by adjusting the display ribbon before committing to a full laptop screen replacement. This is where most DIY enthusiasts get stuck—they buy the part before they diagnose the root cause, leading to unnecessary expenses and plastic waste.
The Static Trap Most Technicians Miss
Then there is the ‘static’ trap. Did you know that sometimes your office chair can kill your screen visibility? It sounds like a tech-support urban legend, but the fix for a monitor that turns off when you sit down in your chair often involves Electromagnetic Interference (EMI) from the gas-lift cylinders in modern office chairs. When you sit, a tiny discharge of static can travel through the air or cables, causing a momentary black-out. If you are troubleshooting a ‘pressure mark’ and your screen goes dark simultaneously, you aren’t looking at a broken LCD; you’re looking at a shielding issue.
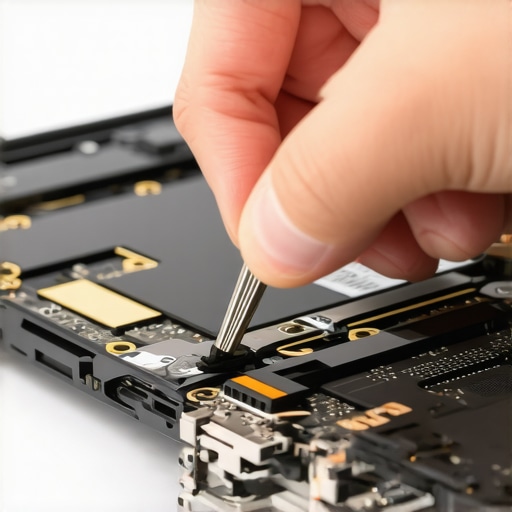
Why Software Cannot Fix a Hardware Heartbeat
When it comes to data recovery, the ‘Oops’ factor is even more devastating. People see a drive failing and reach for ‘free’ recovery tools. According to data from Kroll Ontrack, attempting software recovery on a mechanically failing drive—one that is clicking or grinding—increases the risk of permanent data loss by over 70%. If you hear a noise, stop immediately. You need data recovery secrets expert techniques to save your files fast rather than a cheap app. Understanding the truth about hard drive recovery services and pricing will show you that professional intervention is the only way to save a drive with a physical head crash.
What Happens When Your Managed IT Provider Ignores Your Hardware?
In the world of effective managed IT solutions for growing companies, many people assume the service is purely about software updates and helpdesk tickets. This is a critical mistake. Expertise in managed IT means your provider should be auditing the ‘S.M.A.R.T.’ health of your laptop SSDs and monitoring for the thermal issues we discussed earlier. If your IT team isn’t predicting a battery swell before it creates a pressure mark on your screen, they are just reacting to problems rather than managing them. Have you ever fallen into the trap of using a software fix for what was clearly a hardware problem? Let me know in the comments—I’d love to hear your horror stories!
How do I maintain my laptop’s structural integrity over time?
Maintenance isn’t just about blowing dust out of your vents once a year; it is about a proactive workflow that treats your hardware like the precision instrument it is. I personally swear by a weekly ‘physical audit.’ It sounds like overkill, but taking sixty seconds to look for why your laptop screen has a weird shadow in one corner or checking if your hinges feel stiffer than usual can save you hundreds in repair costs later. If the hinges are tight, they exert massive leverage on the screen assembly, which is a leading cause of those pesky pressure marks that start as a small glow and end as a dead panel.
Equip Yourself With the Right Diagnostic Arsenal
When I am working on a client machine, my go-to for software diagnostics is always CrystalDiskInfo. It is a lightweight tool that translates cryptic hexadecimal values into a simple ‘Good’ or ‘Caution’ status. This is the easy way to check your hard drive’s health using smart data without needing a degree in computer engineering. If that status turns yellow, I do not wait. I immediately look into the power of data recovery tools to mirror the drive before it clicks its last breath. You should also keep a dedicated laptop screen repair DIY tips kit handy, including plastic spudgers and specialized bits, because using a kitchen knife to pry open a bezel is a one-way ticket to a cracked glass disaster.
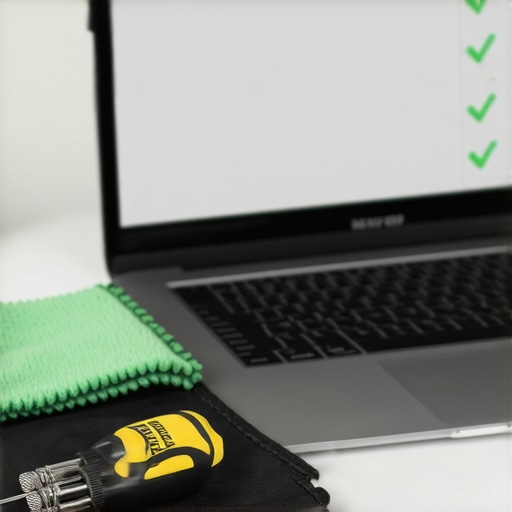
Consistency is key here. Aside from the screen buffers I mentioned earlier, you should be auditing your storage lifecycle regularly. According to the 2024 Backblaze Drive Stats report, hard drive failure rates often spike after the four-year mark, even for SSDs which have limited write endurance. You need to know how to tell if your SSD is wearing out from too many writes because unlike a mechanical drive, an SSD will not make a sound before it dies—it just disappears from the BIOS. I have seen too many people lose years of work because they assumed ‘no noise’ meant ‘no problem.’
Scale Your Protection Strategy for Long Term Peace
For those running a business, maintenance needs to scale beyond individual effort. You cannot manually check every laptop in the office every Monday morning. This is why managed IT is a game changer for growing companies. A good provider uses RMM (Remote Monitoring and Management) tools to catch a failing cooling fan before it leads to a motherboard-killing thermal event. If you are still doing this manually, you are essentially waiting for a fire to start before buying an extinguisher. Looking ahead, I predict we will see ‘AI-predictive hardware’ become the standard. Instead of a generic ‘Caution’ light, your operating system will likely tell you exactly how many hours of life your screen backlight has left based on current voltage fluctuations. Do not wait for the future to protect your present; ensure you have a documented disaster recovery plan today to handle the hardware failures that AI cannot yet prevent.
My challenge for you is simple: Download a SMART monitoring tool tonight and check your ‘Power On Hours’ and ‘Reallocated Sectors Count.’ If those numbers look scary, it might be time to dive into data recovery secrets expert techniques to save your files fast before your next reboot. A little bit of technical curiosity today is the best insurance policy for your data tomorrow.
Lessons From the Tech Bench You Won’t Find in a Manual
Over years of handling fragile hardware, I’ve realized that the ‘Fingerprint Test’ is your best diagnostic tool. If you apply light pressure to the back of the lid and the spot shifts, the pressure is external; however, if the mark remains static, you are likely dealing with internal layer separation. One of my biggest lightbulb moments was discovering that environmental heat often acts as a catalyst. A laptop left in a warm car is far more susceptible to the simple fix for a laptop screen with ghosting issues becoming a permanent scar. I always suggest using a structural buffer—even a thin piece of cardstock—inside your laptop sleeve to provide the rigidity that modern ultra-thin lids lack.
My Go-To Kit for Saving Your Hardware
Maintaining a clear display requires more than just luck. I personally rely on a few specific resources to keep my gear in peak condition. For identifying software-related visual bugs, knowing how to fix a blurry screen on a high-end laptop is essential before you start tearing down hardware. When it comes to physical repairs, I never touch a bezel without a set of professional nylon spudgers, as using metal tools is the fastest way to turn a small blemish into a screen that has horizontal lines that move. Finally, for those managing devices in a professional setting, ensuring you know how managed IT can elevate your business security in 2025 is the only way to catch hardware failures like battery swelling before they destroy the panel.
#IMAGE_PLACE_HOLDER_E#
Your Journey Toward a Disaster-Proof Setup
Dealing with a stubborn laptop screen mark is a rite of passage for many tech owners, but it doesn’t have to be the end of your machine. By adopting a proactive mindset—performing weekly physical checks and using the right diagnostic tools—you can extend the life of your hardware significantly. The goal isn’t just to fix what’s broken, but to build a workflow that prevents damage from occurring in the first place. Every technician started with a single question about a strange glowing spot. Have you ever noticed a pressure mark on your screen only to realize your laptop bag was packed too tight? Let me know in the comments below how you managed to fix it!