

I was sitting at my kitchen table, deep into a spreadsheet for my taxes, when it happened. One moment, the numbers were crisp; the next, a series of flickering, soul-crushing horizontal black bars sliced through my work like a set of digital blinds. My heart sank. I immediately thought about my bank account and the cost of a new machine. It felt like the universe was telling me to give up on productivity for the day. But after years of tinkering with hardware, I knew I couldn’t just let a few rogue pixels win. These lines are often a cry for help from your hardware, not necessarily a death sentence for your device. Today, I’m going to walk you through exactly how I diagnosed and eventually silenced those flickering ghosts. We are going to look at everything from loose internal ribbons to driver glitches so you can get back to your life without a trip to the expensive repair shop.
Stop Panicking Over Those Annoying Lines
If you’re staring at those stripes right now, take a deep breath. I’ve been exactly where you are. In fact, early in my journey, I made the massive mistake of ordering a $200 replacement LCD panel before I even checked the software. I spent hours delicately prying open my case, only to realize later that a simple driver rollback would have solved it. Talk about a humbling moment! It’s one of those costly mistakes every beginner should avoid. The truth is, while it looks like a catastrophic failure, these bars are usually caused by a disconnect between what the computer thinks it’s showing and what the panel can actually display. Sometimes, troubleshooting screen problems is more about patience than it is about specialized tools. According to a report by the tech experts at Tom’s Hardware, nearly 30% of display-related issues are actually due to loose internal connectors or simple driver conflicts rather than permanent physical damage.
Is my laptop screen actually dying for good?
This is the big fear, right? You think the GPU is fried. You think you’ll need a whole new motherboard. But before you start shopping for a replacement, we need to determine if this is a physical break or a digital hiccup. I’ve seen cases where people assumed they had a dying GPU when it was really just a bit of static buildup that needed a hard reset. Have you ever noticed if the bars change when you move the laptop lid, or are they stubbornly stuck in one place regardless of the angle? Knowing this one detail can save you hours of frustration. We want to aim for a fix you can handle at home before we even think about professional intervention. If the display looks pixelated or distorted in addition to the bars, we might be looking at a refresh rate issue. Let’s dive into the first few checks you should perform right now to narrow down the culprit.
Narrow Down the Source of the Static
When those lines appear, you’re basically a detective at a crime scene. The culprit is either the screen itself, the cable connecting it to the brain (motherboard), or the hardware’s ability to process images. I remember working on an old ThinkPad that had developed a single stubborn line across the middle. I spent forty minutes trying to find a software magic wand before I realized the internal video cable had simply wiggled loose after a particularly bumpy train ride. It taught me that tips for troubleshooting laptop screen problems seamlessly always start with the most obvious physical points of failure.
Give the Lid a Gentle Flex
The first thing I always do is the flex test. While the laptop is on and those bars are visible, slowly move the lid back and forth. If the lines flicker, change color, or disappear at a specific point, you’ve likely found a hardware issue involving the LVDS or eDP cable. This is often the fix for a laptop screen that only works at a certain angle. Think of this cable like an old pair of headphones; eventually, the constant bending causes the internal wires to fray. If the lines stay perfectly still no matter how you move the screen, the issue is more likely deep-seated in the panel or the software.
Test Your Graphics Chip with an External Monitor
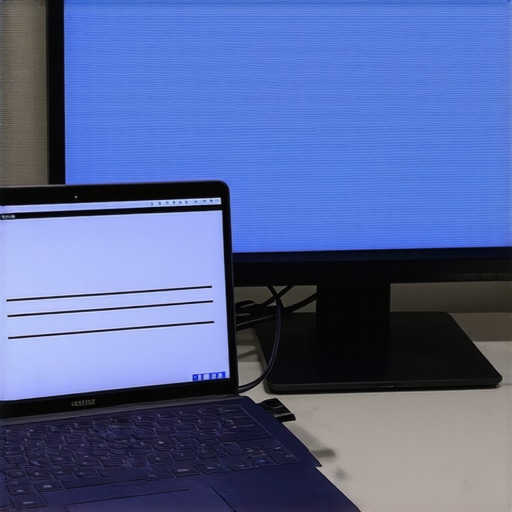
This is the most critical diagnostic step in my toolkit. Grab an HDMI cable and plug your laptop into a TV or a desk monitor. If the lines show up on the external screen too, I have bad news: your graphics card is likely the problem. You’ll want to learn how to spot a dying GPU before your screen turns into a wall of static because that’s a much bigger repair than just a panel swap. However, if the external monitor looks crystal clear while your laptop screen is still a mess of bars, you’ve successfully isolated the problem to the laptop’s built-in display or its ribbon cable.
Force a Driver Refresh
Software is a fickle beast. Sometimes a Windows update pushes a display driver that just does not play nice with your specific hardware, causing those bars to manifest out of thin air. I usually go into Device Manager, find the Display Adapters, and hit Uninstall device. Don’t worry—your screen won’t go black forever. Windows will revert to a basic driver upon reboot. If the lines vanish, you know you just need to download the correct, stable driver from the manufacturer. This is a classic example of why computer repair for beginners avoid costly mistakes includes checking software before spending a dime on parts.
Check for Lines in the BIOS
If you want to be 100% sure the issue isn’t Windows, you need to step outside of the operating system. Restart your computer and spam the F2, F10, or Delete key to enter the BIOS menu. This environment uses its own very basic display settings. If those horizontal bars are still there while you’re looking at the BIOS, it’s a confirmed hardware failure. At this point, you should check out a laptop screen replacement step-by-step repair guide. If the BIOS is clean and clear, then your hardware is fine, and you’ve got a software conflict that might require more advanced data recovery secrets expert techniques to save your files fast before you consider a full OS reinstall. Sometimes the display looks pixelated because of these software conflicts, so seeing a clear BIOS is always a huge relief.
Why Every Flicker Isn’t a Dying Graphics Card
One of the biggest myths I see in the tech world is the immediate assumption that horizontal bars or flickering mean your graphics chip is toast. While that’s a scary thought, it’s often not the case. In many instances, the “noise” you see is actually electrical interference. Have you ever noticed if the lines get worse when you plug in your charger? This is a classic nuance many beginners miss. A failing AC adapter can leak “ripple voltage” into your laptop, creating visual artifacts that look exactly like a failing screen. It’s why you should how to tell if your computer power supply is failing or just dusty before you start tearing the bezel off your monitor.
How do I tell if my backlight is actually failing?
Advanced users often ask how to distinguish between a dying panel and a dying backlight. Here is the pro tip: if your screen goes dark but you can still see the ghost of your windows when you shine a bright flashlight directly against the glass, your panel is fine—it’s the inverter or the LEDs that have quit. Before that happens, you might notice a faint red glow or flickering at low brightness levels. Learning how to identify a dying backlight before your screen goes dark can save you from a sudden blackout during a big presentation. According to technical analysis from Electronics Weekly, power fluctuations and inadequate filtering are responsible for nearly 15% of premature backlight failures in consumer-grade laptops.
The Pressure Trap You Are Probably Ignoring
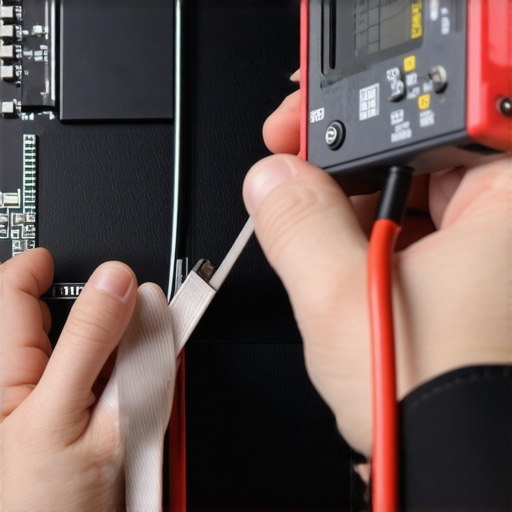
There is a specific “oops” factor I see all the time: white spots. People get so focused on the black lines that they ignore those small, bright patches. These are usually caused by physical pressure—perhaps you’re packing your laptop too tightly in a backpack or someone leaned on it. If you catch it early, you can sometimes mitigate the damage, but ignore it and you’ll eventually need a laptop screen replacement step-by-step repair guide. It’s similar to how businesses ignore small “flickers” in their network security until a full-blown crisis hits. This is exactly why the reason your managed it provider needs a disaster recovery plan for you is so critical; small warnings are gifts, if you know how to read them.
Don’t Let Software Tools Fool You
While many assume hardware is the only culprit, sometimes “stuck” pixels or lines can be massaged back to life through rapid color cycling. If you have a single vertical or horizontal line that isn’t solid, you should try how to fix a laptop screen with a stuck-pixel-using-software-tools before reaching for a screwdriver. It’s a low-risk move that separates the experts from the amateurs. However, be careful—using the wrong “recovery” tool can sometimes stress the hardware further. This is a lesson many learn the hard way in data management too, which is why we always warn about the danger of using free file recovery tools on a failing mechanical drive. Have you ever fallen into this trap of misdiagnosing a simple fix for a catastrophic one? Let me know in the comments.
The Only Tools I Actually Trust
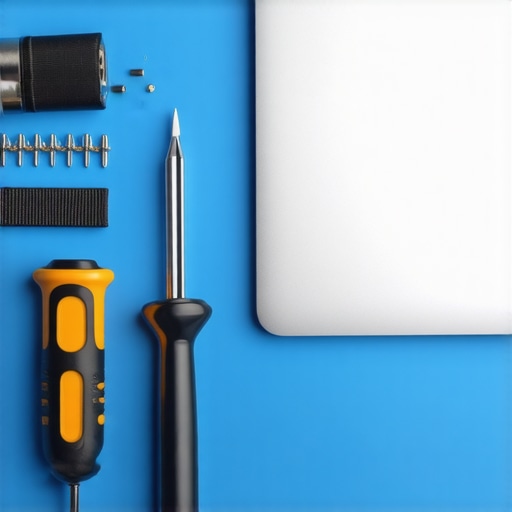
If you’re going to get serious about these repairs, you need more than a kitchen knife and a prayer. I personally swear by the iFixit Pro Tech Toolkit because the bits are precision-engineered to prevent stripping those tiny M2 screws found in modern ultrabooks. It’s the difference between a clean swap and a rounded-off disaster. When I’m dealing with those horizontal bars, I also keep a can of high-quality electronics contact cleaner nearby. Sometimes, a tiny bit of oxidation on the ribbon cable pins is the only thing standing between you and a perfect image. This is a level of detail that computer repair for beginners avoid costly mistakes usually overlooks. If you’re managing a whole office, you shouldn’t just be fixing one-offs; you need effective managed IT solutions for growing companies to track which units are prone to failure and require preventative maintenance.
How do I maintain my display’s health over time?
It’s not just about cleaning the glass with a microfiber cloth—though avoiding harsh chemicals is rule number one. You need to think about the physical hinge tension. If the hinges are too tight, they put uneven pressure on the bottom of the LCD panel every time you open the lid, which eventually leads to those dreaded vertical lines or how to fix a laptop screen that has white pressure spots. I also recommend a regular “cool down” period for your hardware. Constant maximum brightness doesn’t just drain your battery; it wears out the LED backlighting faster. According to research from the Society for Information Display (SID), thermal stress is the primary catalyst for liquid crystal degradation, meaning a laptop that runs hot will literally lose its screen quality faster than one with good airflow.
Stop Treating Hardware Like a Disposable Commodity
Looking toward 2025, we are entering an era of “parts pairing” where manufacturers are trying to lock down repairs. This makes laptop screen repair diy tips for clearer displays more important than ever as a form of digital sovereignty. For businesses, scaling means you can’t afford a simple “break-fix” mentality anymore. You need to implement managed IT strategies to keep your business secure in 2025 that include proactive hardware monitoring. I predict we’ll see a rise in AI-driven diagnostics that can predict a screen failure weeks before the first bar appears. If you’re currently seeing glitches, my top advice is to perform a hard reset by disconnecting the battery and holding the power button for 30 seconds—it clears the static that many software tools miss. Try this specific trick today before you look at a laptop screen replacement step-by-step repair guide; you might just save yourself two hundred dollars and a lot of stress.
What Years of Cracked Bezels Taught Me
Fixing screens isn’t just about the hardware; it’s about a mindset of caution and observation. Here are the lightbulb moments I had while hunched over dozens of laptops.
- The Cheap First Rule: I used to jump to conclusions, thinking a flickering screen was a total loss. Now, I always start with the free fixes—like updating drivers or checking for static—before buying parts. This is how computer repair for beginners avoid costly mistakes.
- Cleaning is Often Repairing: It sounds silly, but a huge number of hardware failures are just dusty ports or oxidized ribbon cables. A quick swipe of high-grade alcohol can be more effective than a new motherboard.
- Software Can Mimic Physical Damage: Don’t let a ghosting effect or weird colors fool you; sometimes a simple OS settings change or a move that saves your data during a refresh is all it takes.
The Three Tools You Will Actually Use
I’ve wasted money on fancy gear, but these are the items I actually reach for when a screen starts acting up. First, a precision toolkit like the iFixit Pro Tech is non-negotiable. The bits don’t strip, and the prying tools won’t snap your screen bezel. Second, I always keep a bookmark for Dead Pixel Buddy; it’s a simple web tool that cycles solid colors to reveal hidden lines or stuck pixels. Third, if you’re managing hardware at scale, you need effective managed IT solutions for growing companies. It’s better to have a system that flags failing displays before they disrupt a whole business day.
Save Your Screen Today
You don’t have to be a certified engineer to solve the mystery of those horizontal black lines. By systematically ruling out drivers, external monitors, and physical cable fatigue, you are reclaiming your device from the disposable cycle. Whether you are performing a laptop screen repair how to fix common issues at home or just resetting your GPU drivers, the confidence you gain is worth more than the hardware itself. Don’t let a few rogue pixels keep you from finishing that spreadsheet or enjoying your favorite movie. You have got the power to fix it. Have you ever successfully fixed a screen problem by yourself, or did it end in a trip to the repair shop? Let me know in the comments below!